

Creating a Backup Set

Summary:
- This article is for Windows only
This article describes how to create a Backup set with Carbonite Safe Server Backup.
Solution:
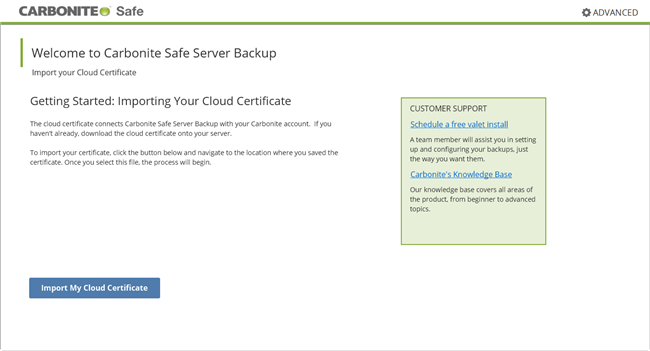
After launching Carbonite Safe Server Backup (CSSB) for the first time, you will be presented with a Welcome to Carbonite Safe Server Backup window. On this screen, you will be able to perform the following actions:
- Import My Cloud Certificate - Clicking this button will direct you to your Carbonite account, where you will be able to download and import your cloud certificate.
- Schedule a free valet install - Clicking this link will direct you to the valet installation page. Valet install is a free service offered by Carbonite, where a Sales Engineer remotely connects to your computer/server and sets up the software for you. They will be able to answer any questions you might have about the product and ensure all your important data is backed up.
- Carbonite's Knowledge Base - Clicking this link will direct you to our Knowledge Base located at https://support.carbonite.com.
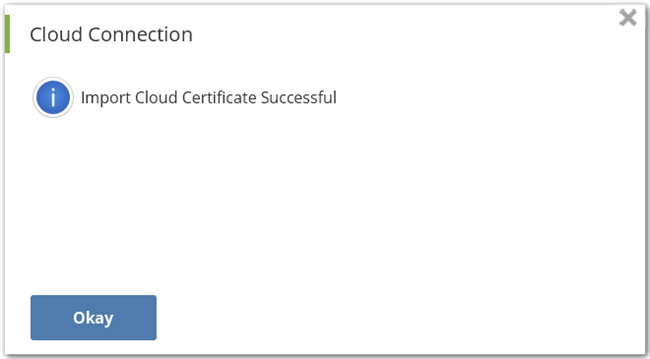
If you choose to configure your own backups, we recommend downloading and importing your cloud certificate. Once your cloud certificate has been successfully imported, you will receive a notification message. Click Okay to close the window.
The rest of this article has been split into collapsed sections for easier viewing. Please click on a section header below to expand the contents:
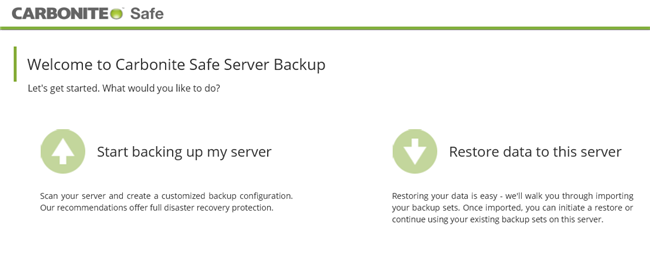
After successfully importing your cloud certificate, you will be given the choice of either configuring your first backup set or restoring data.
A backup set defines the parameters for backing up a group of directories or an application. You can only select one backup type for each backup set. For example, you cannot back up an Exchange server and Windows System state in the same backup set. Instead, you must create a new backup set for each type of backup.
The type of data available for backup is as follows:
- Bare Metal Image ("BMI") - It allows for a complete backup and restore of an entire system to an alternate hardware. You can only create one Bare Metal Image backup set per Server (It is only available with certain Server plans).
- Note: BMI backups require a local backup location that cannot be included in the BMI backup set itself. This prevents your BMI backups from expanding exponentially due to backing itself up (i.e. prevents a "feedback loop").
- File System - Windows NTFS and ReFS file systems are supported. CSSB automatically selects files/folders in your home directory. You can also select files and folders from a browser tree.
- System State - Windows System State refers to a collection of several key operating system elements and their files. Backing up the Windows System State is crucial for a successful disaster recovery strategy. A System state backup includes Windows Boot files, System files, Internet Information Services, COM+ database, Registry, Active Directory, and Certificate Server.
- SQLServer - CSSB backs up SQL Server databases and supports SQL Server 2005, 2008, 2012, 2014, 2016, 2017 and 2019.
- SharePoint - CSSB backs up all mounted SharePoint databases and supports SharePoint 2007, 2010, 2013 and WSS 3.0.
- Standalone and single-server SharePoint farm configurations are supported.
- Multi-server SharePoint farm configurations are not supported.
- MySQL - CSSB backs up MySQL databases and supports MySQL 5.0 and above.
- Hyper-V - CSSB backs up Hyper-V hosts and hosted virtual machines on Windows Server 2008 and Windows Server 2012.
- Server core installations are not supported for Windows 2008 or 2012.
- Exchange Database - CSSB backs up Exchange server databases and supports Exchange Server 2003, 2007, 2010, 2013 and 2016.
- Exchange Mailbox - CSSB backs up Exchange local mailboxes and supports Exchange 2010, 2013 and 2016.
- Exchange hosted for Office 365 - CSSB backs up Exchange Online hosted for Office 365 mailboxes.
- MailStore Archives - CSSB backups MailStore archives.
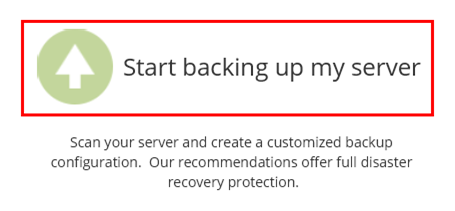
To configure you first backup set, click Start backing up my server.
After scanning your computer/server, you will be presented with recommendations for creating backup sets, based on the data and applications detected on your system. In the example below, there are checkmarks next to File System and System State. You also have the option of creating a Bare Metal Image Backup, which offers the quickest restore solution in a disaster recovery scenario. .
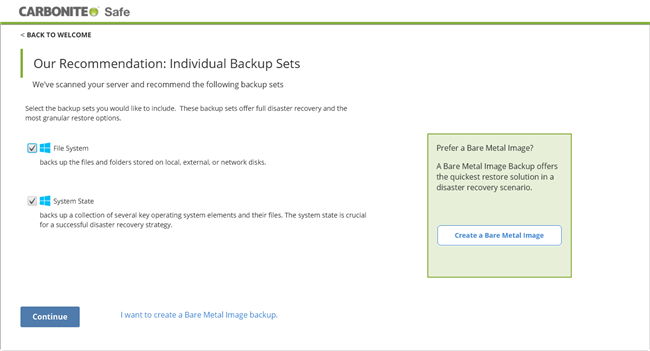
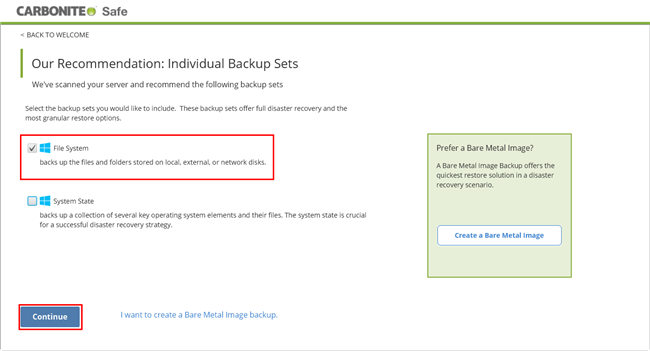
After making your selection, click Continue to proceed. In this example, a File System backup set is being configured.
On the next screen, you will be able to choose your local and cloud backup locations.
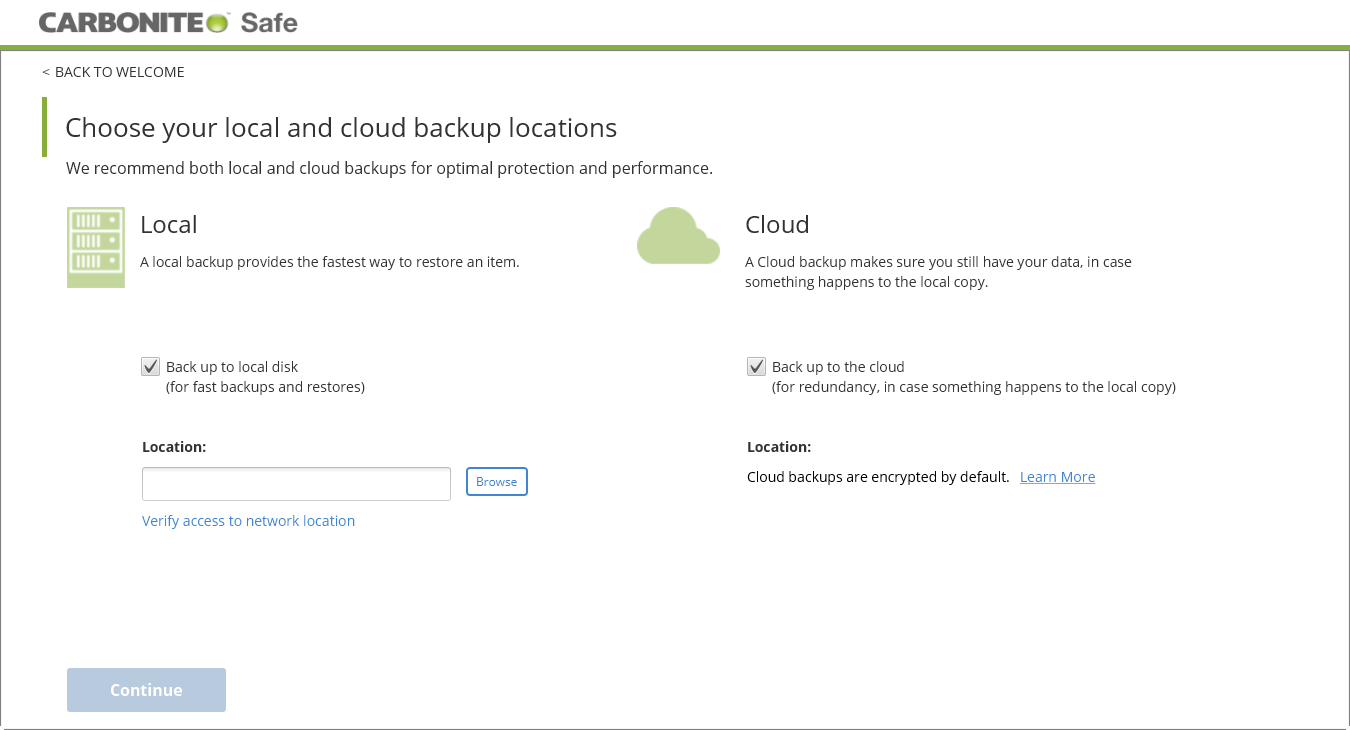
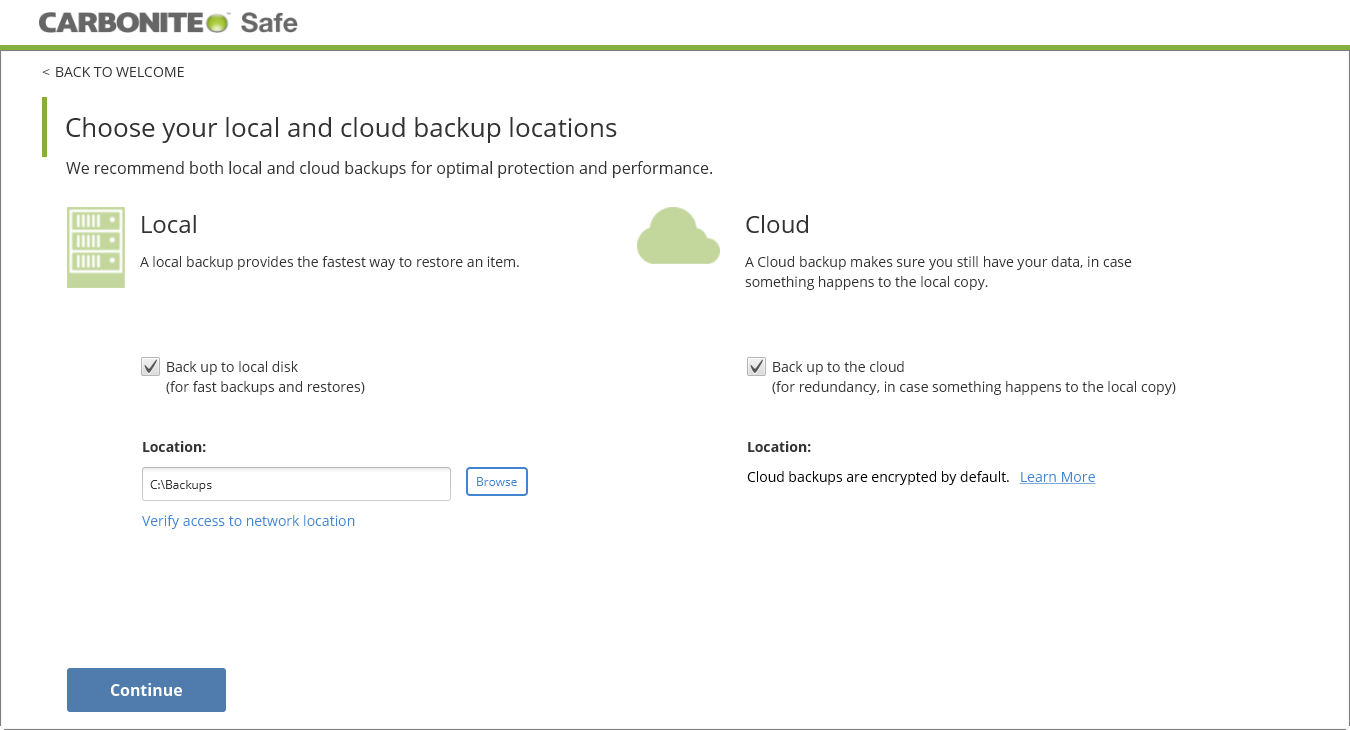
Click Browse to navigate to a location on disk where your backups will be stored. Clicking verify access to network location will allow you to specify a mapped network drive to be used as your local storage location.
After making your selection(s), click Continue to proceed.
On the next page, you will be able to name your backup set. The name must meet the following requirements:
- It cannot include special characters.
- It cannot be more than 32 characters.
- It cannot have more than one space in between words.
- It cannot have the same name as another backup set.
You can also set a backup schedule, update your backup location, set a retention policy and select files and folders for backup.
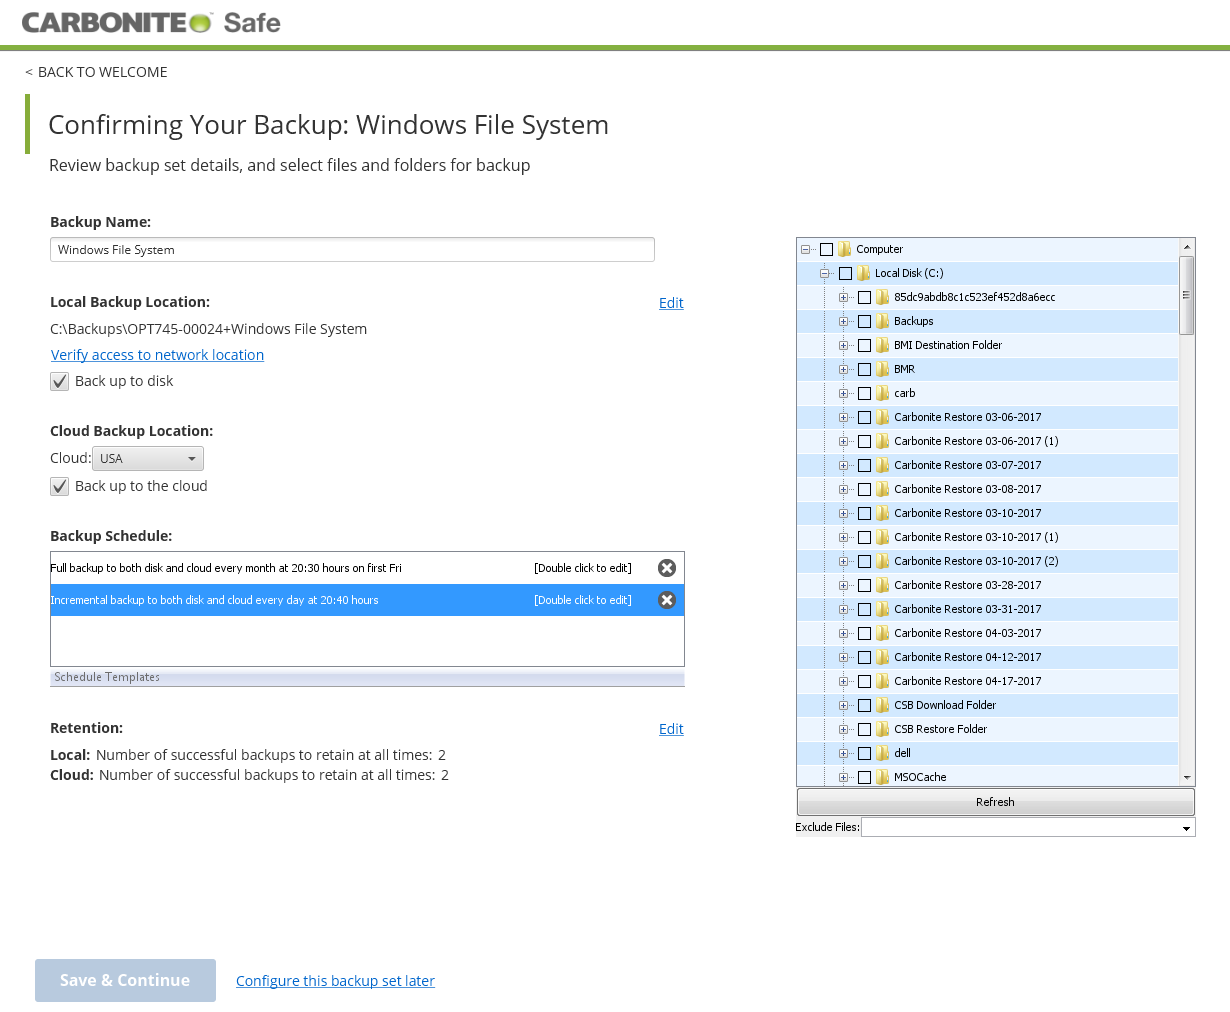
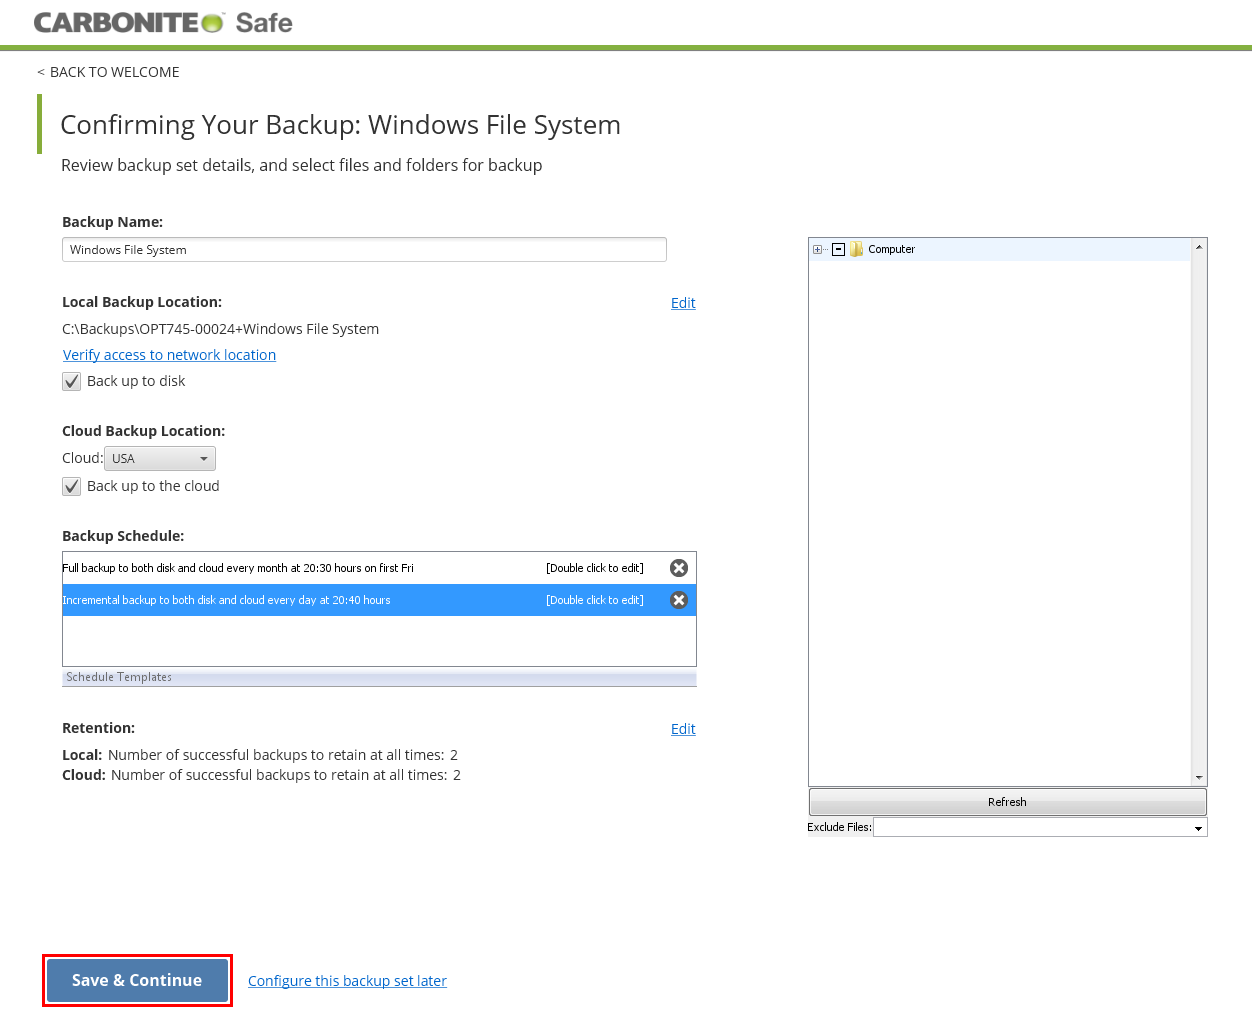
After making your selections, click Save & Continue.
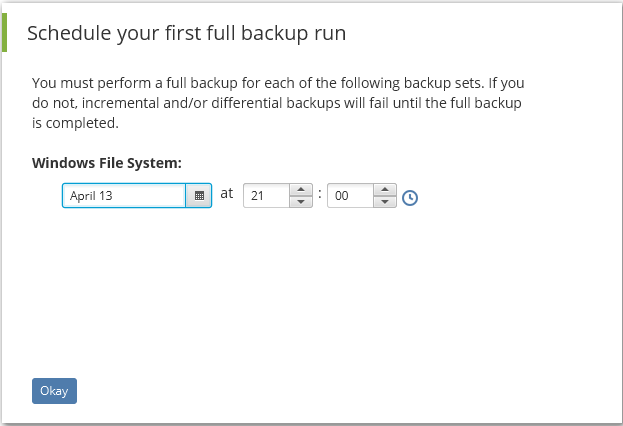
On the next page, a screen will appear advising you to schedule your first full backup run. After setting the date and time, click Okay to proceed.
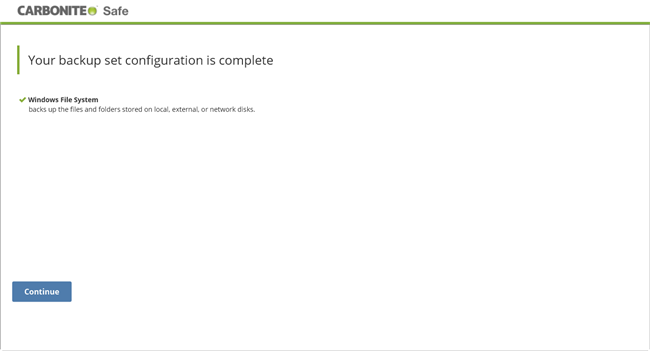
Your backup set configuration is complete. Click Continue to Dashboard to proceed.
The Dashboard will display information about all your backup sets, such as the backup name and backup type, the total storage used, and other useful information.

Click image to enlarge
Within the Dashboard, you will also be able to perform the following actions:
- Add a new backup set
- Navigate to the Restore page and start a restore.
- Navigate to the Advanced page and import existing backup sets. On that same page, you will also be able to update your Carboniteuser password, send log files, connect with an agent, check your version number and perform other tasks.
- Configure your email notifications
- Configure your bandwidth throttling settings
- Access your online account
- Access Carbonite's Knowledge Base
CSSB’s default backup configuration options represent the minimum settings for backup best practices. Configuring your backup options without following best practices may impact your ability to restore.
You can opt to update certain configuration settings for your backup set, such as updating your backup location if you are running out of disk space or updating your backup schedule if your current schedule does not meet your backup needs.
For additional information about these menu options, please review the backup set options.
For additional information about the different backup set types and their configuration options, please review the backup set types listed above.
 Feedback