

Importing Existing Backup Sets

- This article is for Windows only
Summary:
When Carbonite Safe Server Backup (CSSB) backs up data, it stores information in a Backup Catalog file. At the time of a restoration, the catalog allows the user to restore specific data and to restore the backup data correctly.
If the user needs to restore data to a different computer, the backup sets must be imported. Once this operation is complete, you may browse backup sets, backup reports and perform data recovery.
Note: You must close Carbonite Safe Server Backup and restart it after the Import Existing Backup Sets process completes.
Solution:
The sections below are collapsed. Please click the section title to open / close a particular section.
When importing backup sets from the cloud, CSSB must search your cloud backups and download the information. The actual backups themselves are not downloaded.
To import existing backup sets, follow the steps below:
- Install CSSB on the new computer and import the cloud certificate as described in Importing the Cloud Certificate.
- If an option to Restore data to this server exists after launching the CSSB Enhanced Interface, click it and proceed to step 4.
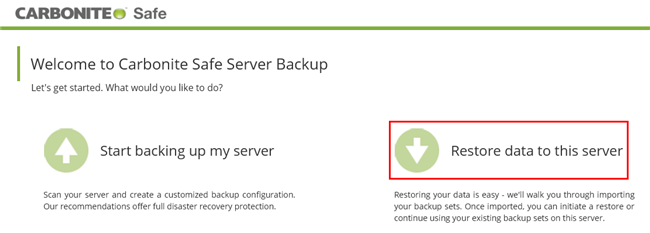
- If an option to Restore data to this server exists after launching the CSSB Enhanced Interface, click it and proceed to step 4.
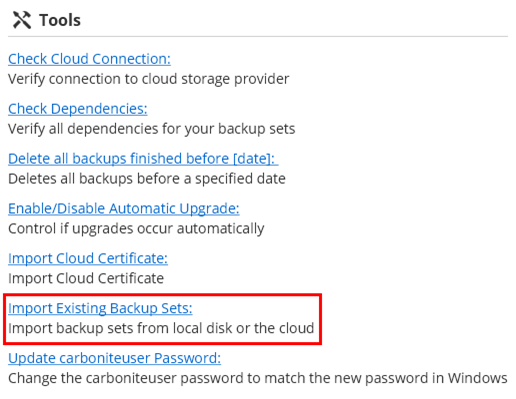
- Navigate to the Advanced page, and within the Tools section click the Import Existing Backup Sets link.
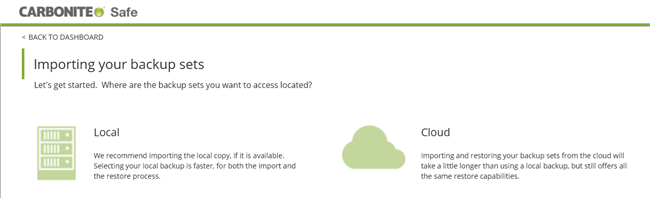
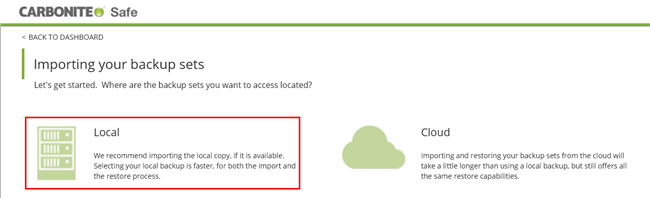
- On the next screen that appears, you will have the option of selecting a local copy of your backup set or a copy in the cloud for import.
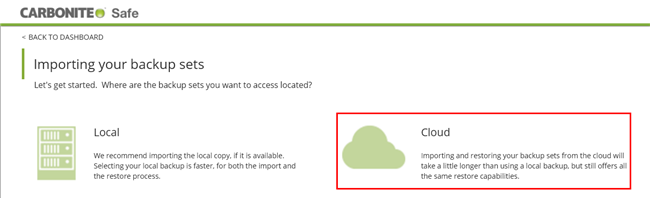
- To import backup sets from the cloud, select the option for Cloud.
A Selecting your cloud backup set for import window will appear. Carbonite will automatically start scanning your servers for all backup sets in the cloud.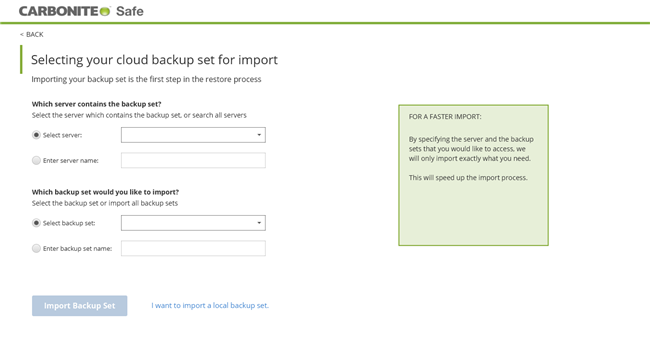
- Within this screen, specify information for the following fields:
- Which server contains the backup set? - This field refers to the host name of the original computer, without the domain name (if any). For instance, if your original computer's host name was myexchangeserver.xyz.com, the host name will be listed as myexchangeserver.
- A drop down menu will allow you to select a host name whose backup sets you would like to import.
- Selecting all servers from the drop down menu will import backup sets for all servers.
- Which backup set would you like to import? - This field refers to the name of the backup set on the original computer when the backup was performed.
- A drop down menu will allow you to select the backup set you would like to import.
- Selecting all backups from the drop down menu will import all backup sets.
To speed up the import process, select the server and the backup set(s) you would like to access.
- Which server contains the backup set? - This field refers to the host name of the original computer, without the domain name (if any). For instance, if your original computer's host name was myexchangeserver.xyz.com, the host name will be listed as myexchangeserver.
- After making your selections, click Import Backup Set to start the import process. CSSB will scan for valid backups using the information you have provided. This process can take a long time to complete.
- When prompted, close and restart the CSSB Enhanced Interface to complete the Import Existing Backup Sets process.
All functions, including reports and data restores, will be available for the backups and backup sets.
Refer to the Carbonite Safe Server Backup User Guide for a complete guide to restoring your data.
You can import backup sets for backups kept on a local disk. If you have many backups on the local disk, filter them using the fields for Which server contains the backup set and Which backup set would you like to import to speed up the Import Existing Backup Sets process.
To import existing backup sets, follow the steps below:
- Install CSSB on the new computer and import the cloud certificate as described in Importing the Cloud Certificate.
- If an option to Restore data to this server exists after launching the CSSB Enhanced Interface, click it and proceed to step 4.
- If an option to Restore data to this server exists after launching the CSSB Enhanced Interface, click it and proceed to step 4.
- Navigate to the Advanced page, and within the Tools section click the Import Existing Backup Sets link.
- On the next screen that appears, you will have the option of selecting a local copy of your backup set or a copy in the cloud for import.
- To import backup sets from the local directory, select the option for Local.
A Selecting your local backup set for import window will appear.
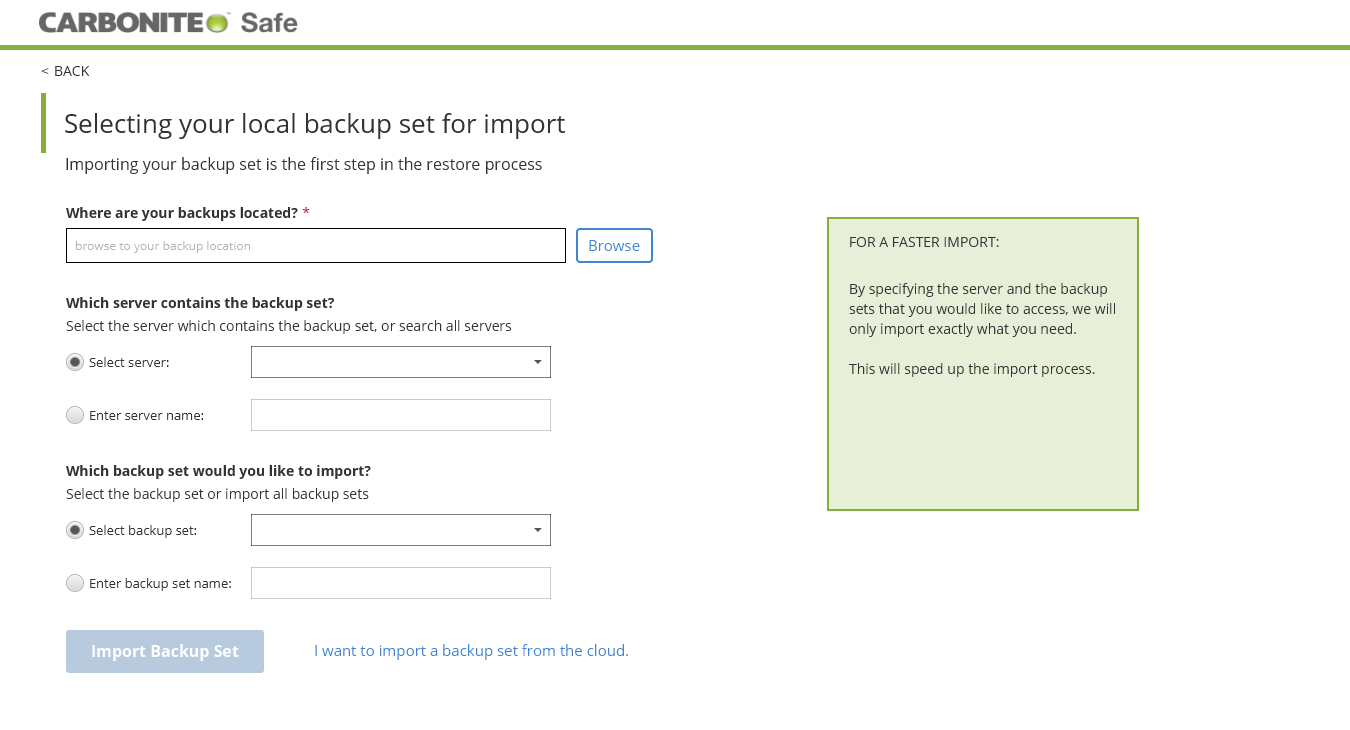
- Within this screen, specify information for the following fields:
- Where are your backups located? - This field refers to the directory in which the local backups are stored. Click Browse to navigate to the backup data location.
- Which server contains the backup set? - This field refers to the host name of the original computer, without the domain name (if any). For instance, if your original computer's host name was myexchangeserver.xyz.com, the host name will be listed as myexchangeserver.
- A drop down menu will allow you to select a host name whose backup sets you would like to import.
- Selecting all servers from the drop down menu will import backup sets for all servers.
- Which backup set would you like to import? - This field refers to the name of the backup set on the original computer when the backup was performed.
- A drop down menu will allow you to select the backup set you would like to import. Selecting all backups from the drop down menu will import all backup sets.
To speed up the import process, select the server and the backup set(s) you would like to access.
- A drop down menu will allow you to select the backup set you would like to import. Selecting all backups from the drop down menu will import all backup sets.
- After making your selections, click Import Backup Set to start the import process. CSSB will scan for valid backups using the information you have provided. This process can take a long time to complete.
- When prompted, close and restart the CSSB Enhanced Interface to complete the Import Existing Backup Sets process.
All functions, including reports and data restores, will be available for the backups and backup sets.
Refer to the Carbonite Safe Server Backup User Guide for a complete guide to restoring your data.
 Feedback