

Installing Carbonite Safe and Initial Backup Selections

Summary:
After you set up your Carbonite Safe account, you can install Carbonite to start backing up your files.
If you have installed Carbonite on your computer before, you will need to reinstall Carbonite Safe instead.
This article applies to:
| Carbonite Plans | Products | Platforms |
| Basic, Plus, and Prime (Not sure?) | Safe (Not sure?) - View the Webroot SecureAnywhere article | View the Pro article | Windows - View the Mac article |
Solution:
- Sign into https://account.carbonite.com from the computer you want to back up.
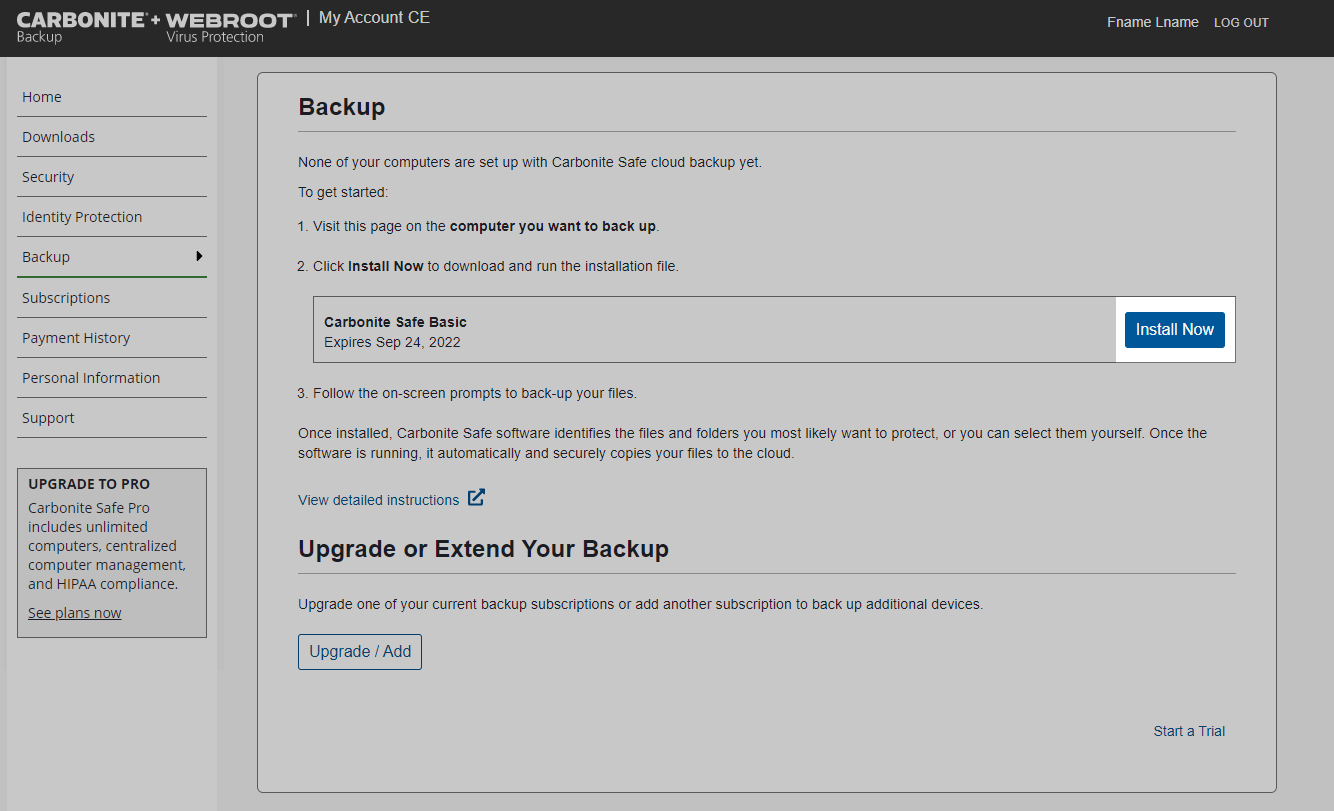
- Click the Backup tab.
- From the Backup section, click Install Now.
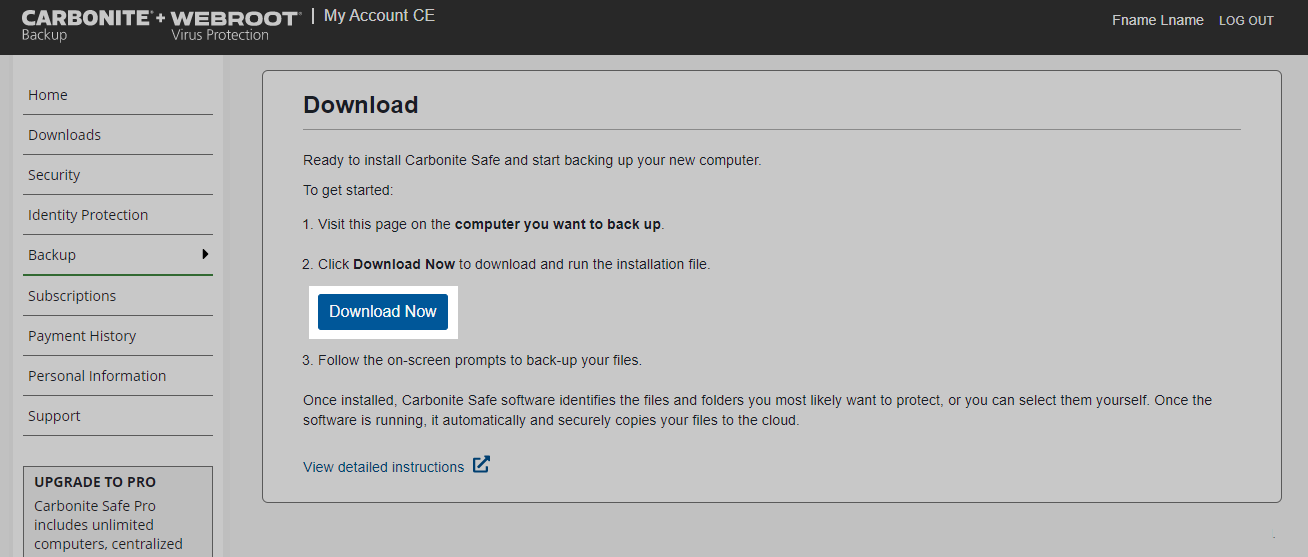
- Download the Carbonite setup file by clicking Download Now.
- Depending on your web browser, use the instructions below to open Carbonite.
- Google Chrome: The downloaded file appears in the top right of the browser. Double-click the Carbonite file to open it.
- Mozilla Firefox: Click Save in the pop-up message that appears to start the download. When the download completes, click the arrow in the top right corner of your browser to view your downloads. Double-click the Carbonite file to open it.
- Microsoft Edge: The download appears in the top right of the browser. Click Run to open the Carbonite file.
- Within the User Account Control window that appears, click Yes.
- Click I agree on the Terms of Service to begin installing Carbonite.
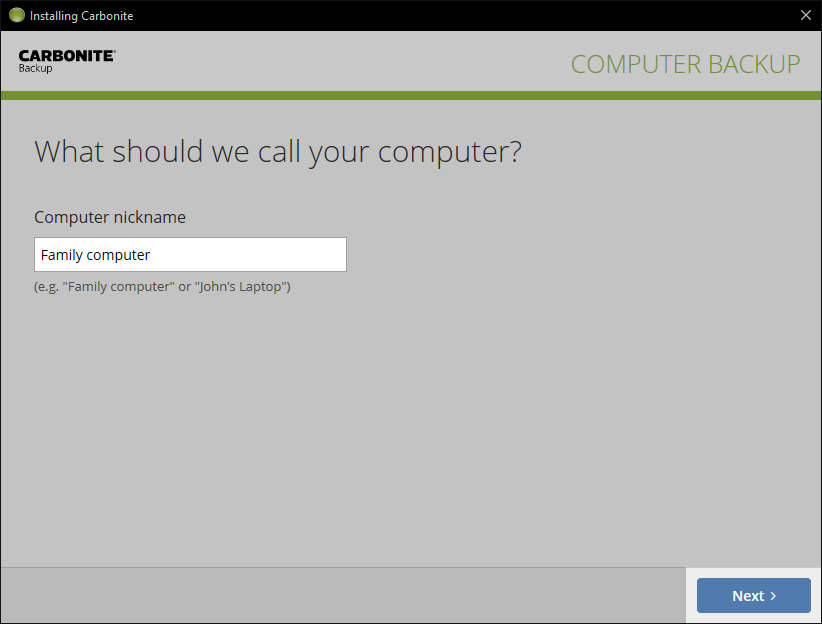
- When prompted, enter a Computer nickname for your device and click Next.
- Choose your backup settings:
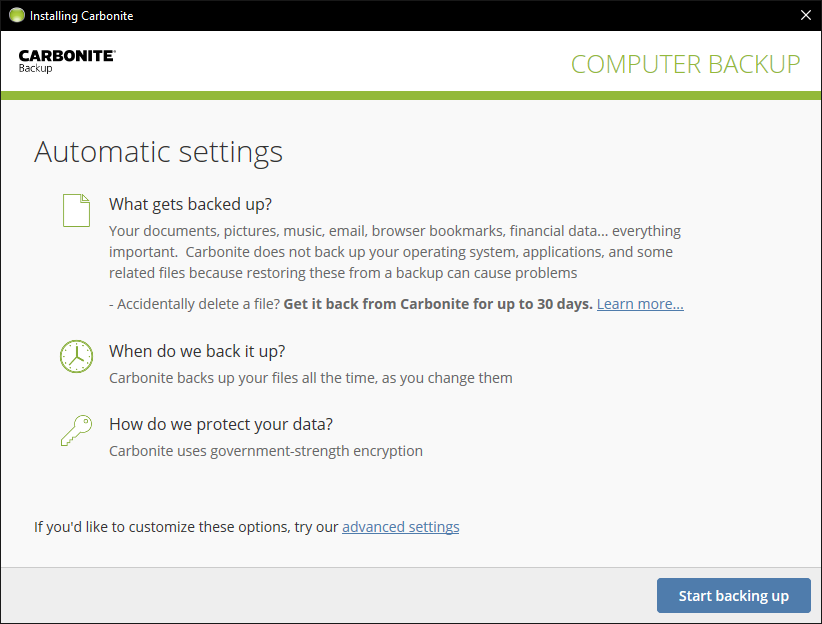
- Automatic settings (default): Carbonite selects the C:\Users folder for backup which is the default location for documents, pictures, music, and other important files.
- Advanced settings:
- Choose what gets backed up
- Start with Carbonite’s default backup selections (Recommended): This option is the same as Automatic settings described above.
- Start with NOTHING selected for back up: Carbonite doesn’t select any files for back up. You will need to manually select the files and folders you wish to back up.
- Schedule your backup
- Backup files as you change them (Recommended): Carbonite automatically backs up changed files after a few minutes. Backing up will slow down when you use your computer, so it doesn’t interfere with your work.
- Back up once a day: Carbonite backs up at the specified time when the computer is turned on and connected to the internet.
- Choose encryption method
- Let Carbonite manage my encryption key (Recommended): Carbonite secures your files, so you don’t have to worry about losing an encryption key. You can view backed up files and request to receive your files by mail by selecting this option.
- Manage my own encryption key: Carbonite creates an encryption key file that you need to store in a safe place. You will need to provide this encryption key whenever you need to reinstall or restore files from Carbonite. As a result of the encryption method, you cannot view your backed up files by signing into your account via a computer or the Carbonite Mobile app, and you cannot request Courier Recovery to receive your files by mail.
- Choose what gets backed up
- After you configure your backup settings, click Start backing up to begin backing up your computer.
Regardless of whether you choose automatic or advanced settings, you can select files for backup at any time.
 Feedback