Restoring Files
Summary:
You can browse and restore files from your backup within the Carbonite application.
To search for and restore files from another computer, you can restore files with Anytime Anywhere Access.
This article applies to:
| Carbonite Plans | Products | Platforms |
| Basic, Plus, Prime, Core, Power, and Ultimate (Not sure?) | Safe and Safe Pro (Not sure?) | Windows - View the Mac article |
To restore files using the Carbonite Backup Drive, sign in as a local administrator in Windows.
Solution:
Note: You may want to place Carbonite into Recover Mode before proceeding to restore your files. Entering Recover Mode stops Carbonite from removing files from your backup that have been deleted from your computer. Click here for instructions.
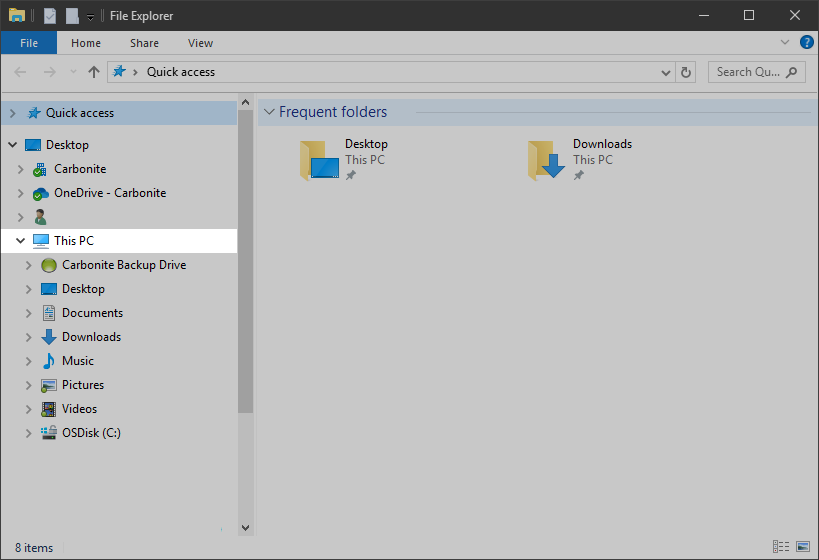
- Within File Explorer, click This PC.
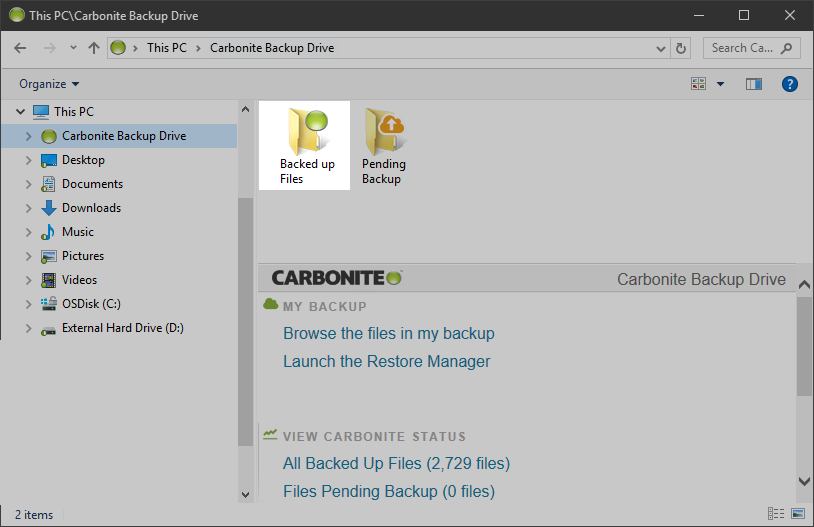
- Double-click Carbonite Backup Drive.
- Double-click Backed up Files.

- Navigate to the location of the file or folder that you want to restore by double-clicking through the folders within the Carbonite Backup Drive.
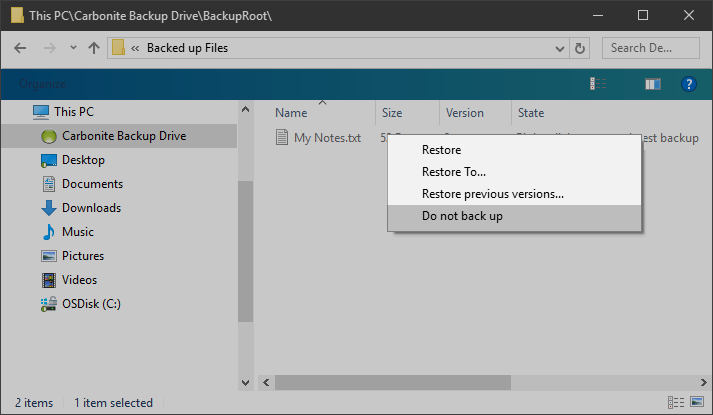
- Once located, right-click on the file or folder to choose a restore method.
- Restore restores the file to the original location.
- Restore To… allows you to choose a custom restore location.
- Restore previous versions… allows you to restore previous versions of a file.
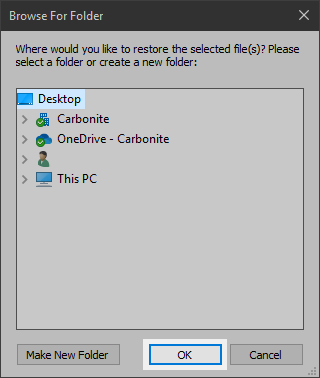
- In this example, we chose the Restore To… option and selected Desktop as the restore location.
After the restore completes, review the Restore Report that appears on your Desktop to ensure your files restored properly. Be sure to exit Recover Mode once you are certain you have all of the files you need. Click here for instructions.


 Feedback