

Restoring the Windows File System

- This article is for Windows only
Summary:
For Windows File System restores, Carbonite Safe Server Backup (CSSB) gives you a lot of control and flexibility while restoring data. You can restore your files to the original backed up computer or to a different computer.
CSSB will always attempt to restore data from a local backup location first. If the local backup is unavailable, it will download the backup from the cloud and proceed with the restore from there.
Solution:
Important Information about Restoring NTFS files to ReFS Drives
Some NTFS features are not supported by the ReFS file system. NTFS files and folders can only be restored to ReFS file systems if their properties are compatible.
Files with the following attributes are not supported by ReFS, and therefore will be skipped at the time of restore.
- Named Streams
- Object IDs
- 8.3 Filenames
- NTFS Compression
- Encrypting File System (EFS)
- Transaction NTFS
- Hard links
- Extended Attributes
- Disk Quotas
If restoring files to a FAT32 drive, files cannot be larger than 4 GB. If you need to restore files over 4 GB, drive needs to be reformatted to NTFS.
Restore Requirements
The following requirements must be met, whether restoring to the original computer or to an alternate computer:
- The amandabackup / CarboniteUser user must have full access to the folder where the backups are stored.
- For cloud backups, this is the chosen Download Folder.
- For local backups, this is the folder where the backups are stored on the local disk.
- If the backups are stored in a network location, amandabackup / CarboniteUser must have access to the network folder. Please refer to How to Use External or Mapped Network Drives with CSB.
- Likewise, the amandabackup / CarboniteUser user must have full access to the folder(s) to which the backups are being restored.
Restoring to the Original Computer
If Carbonite Safe Server Backup is already installed on your computer, you can open the Enhanced Interface and begin restoring your files to your computer.
The sections below are collapsed. Please click the section title to open / close a particular section.
Restoring the Backup Data
When setting up a restore, Carbonite Safe Server Backup pulls from the full followed by the applicable differential and incremental backups. The amount of space needed to restore will appear after you have made your restore selections.
Navigate to the Restore page and select the backup set you wish to restore. You will then be presented with two options:
- All items in this backup set - Choosing this option will restore all items from the selected backup set.
- Select items in this backup set - Choosing this option will allow you to browse or search for items to restore.
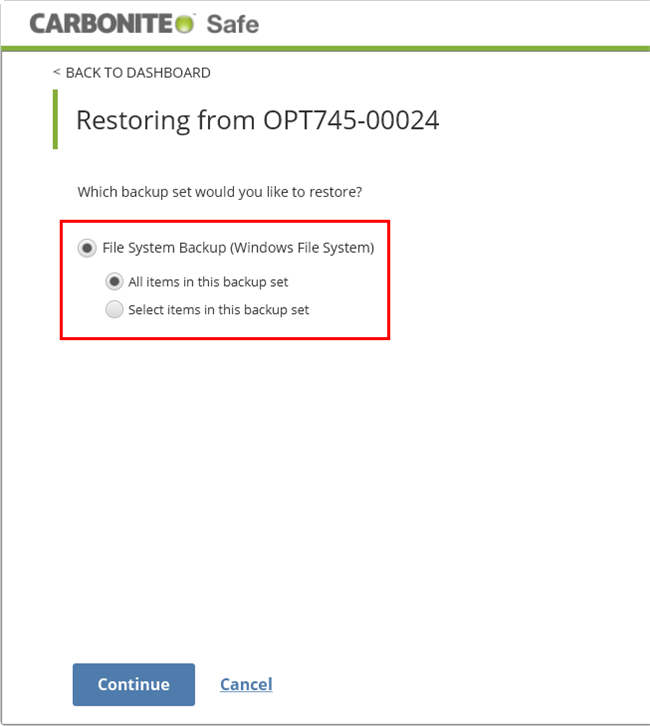
After making your selection, click Continue to proceed. If you plan to restore all items in your backup set, skip to the Restore Settings section.
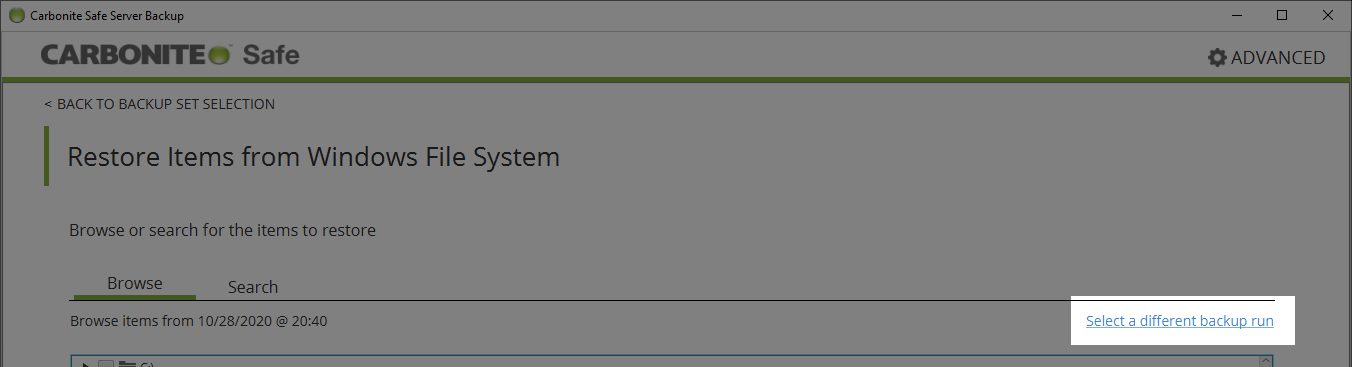
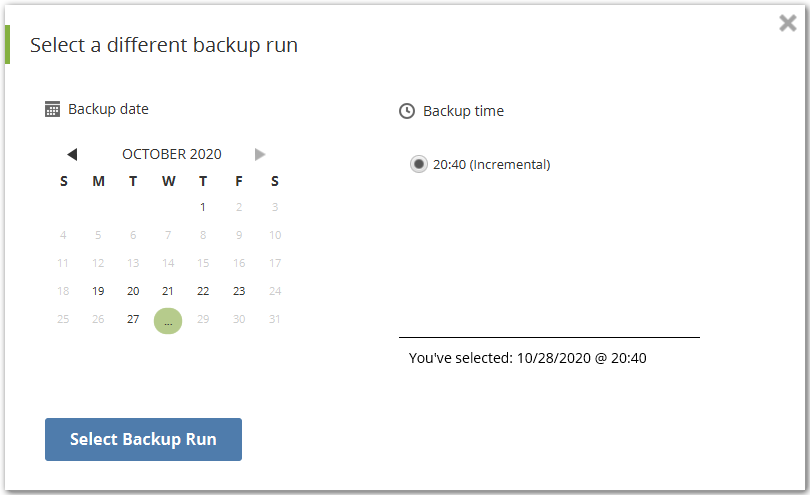
After clicking the above link, a calendar will appear showing you your recent backup runs. Click a day to select it, then click Select Backup Run to rescan your backup from that day.
The Browse/Search options allow users to browse or search File System backups for the latest version of specific files or folders quickly. CSSB lets you select directories and files from a browser tree.
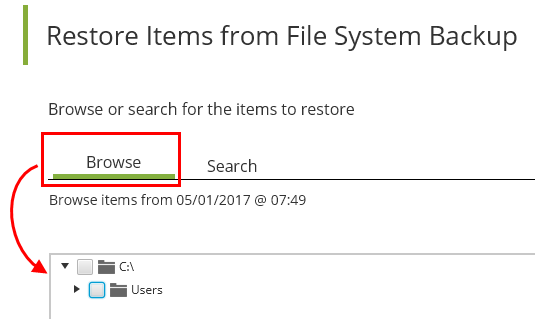
You can also use the Search option to search for specific files/folders.
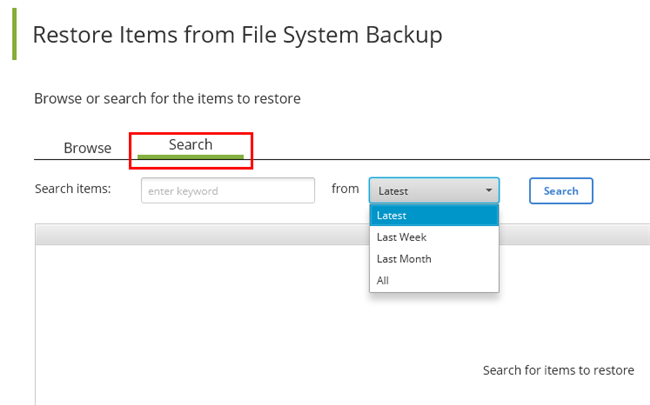
Note: CSSB supports wild cards in the Search specification. Wild cards * (match one or more character) and ? (match exactly one character) are supported. You can also enter the absolute path of the files to be searched. In case you do not remember the absolute path, use *Filename pattern. For example, to search all files with the .jpg extension, enter .jpg. To search all files under C:\Windows\System32, enter C:\Windows\System32 or *System32 as the search pattern.
Windows File System Restore Settings
While performing a Windows File System restore, you can also specify restore settings. You can change the following options:
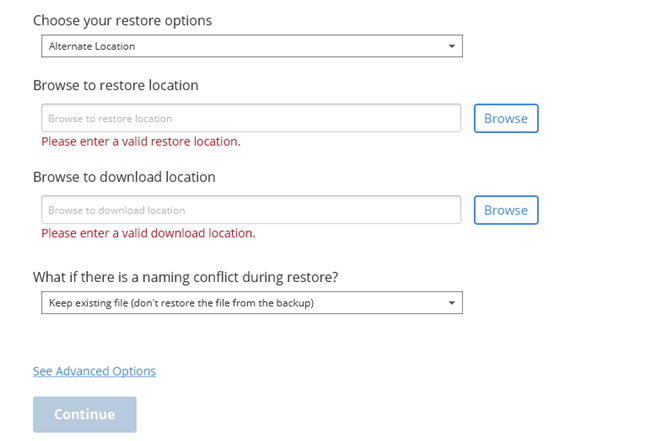
- Choose your restore options - The options in the drop down menu control the location where the data will be restored.
- Original Location - If selected, CSSB will restore data to the original location.
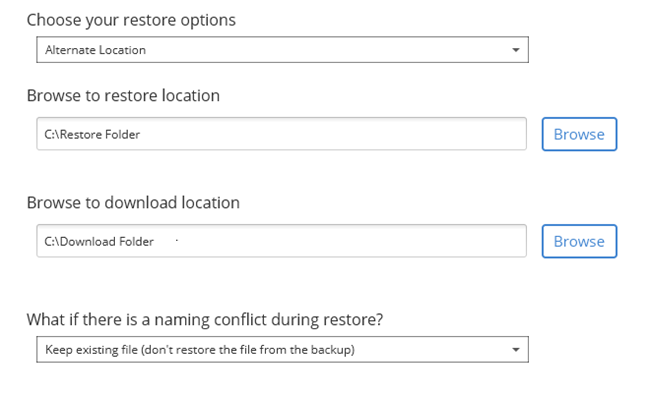
- Alternate Location - If selected, CSSB will restore data to a location defined in the Browse to restore location field.
- Browse to restore location - This field is required if you wish to restore selected files and folders to an alternate location and you have selected the Alternate Location option. You must select a valid restore location the first time you perform a restore for any backup set. Future restores will default to the same folder used by the previous restore. If you have selected Original Location, this field will be inactive.
- Browse to download location - This field refers to the location where CSSB will download your backup runs.
- What if there is a naming conflict during the restore? - There are four available options to choose from: Keep Existing File, Overwrite Existing File, Rename Existing File, Rename Restored File.
*Note: files and folders are restored with their original metadata as of the time the backup occurred.
In the example below, we have chosen to restore to an alternate location.
If CSSB encounters a file already present in the folder where data is being restored, you can choose from four file conflict resolution options.
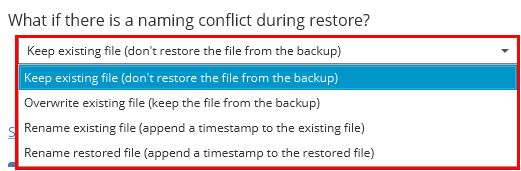
- Keep Existing File - The file will not be restored from the backup.
- Overwrite Existing File - The file will be restored from the backup and the existing file will be overwritten.
- Rename Existing File - The file will be renamed and a timestamp will be added to the existing filename.
- Rename Restored File - The restored file will be renamed and a timestamp will be added to the filename.
For additional restore options, click the See Advanced Options link.

Within the Advanced Settings section, you can change the following restore settings:
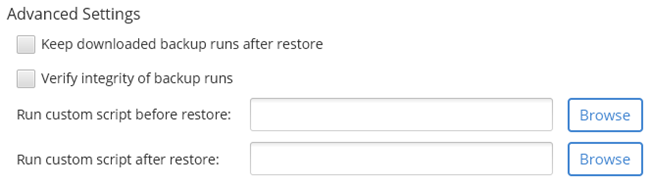
- Keep downloaded backup runs after restore - Once the restore is complete, CSSB will delete the backup runs downloaded from the cloud by default. To retain this archive and perform more restores from this backup run later, place a checkmark next to this option.
- This allows multiple restores to be run quickly without the need to download the data anew each time.
- CSSB will never delete the downloaded backup runs if this option is selected. It must be deleted manually from the chosen Download Folder.
- Verify integrity of backup runs - You have the option of directing CSSB to verify the integrity of the backup run pre-restore, ensuring it is not damaged or corrupted. However, archive verification can take a long time, and restore speed may be your priority. Placing a checkmark next to this option sets CSSB to perform the archive verification steps before restoring your data. If you prefer to skip this step, leave it unchecked.
- Run custom script before restore - This optional field allows you to specify an executable file (such as a .bat or .exe file) to be run before the restore begins.
- Run custom script after restore - This optional field allows you to specify an executable file (such as a .bat or .exe file) to be run after the restore ends.
When you are satisfied with your selections, click Continue to save your changes. Click Start My Restore to start restoring your data.
Note: For file system backups, you can restore files from a different Windows operating system to a different Windows operating system. For example, you can restore files from a computer running Windows XP to another computer running Windows 7.
Restoring to a Different Computer
You can restore your backed up data originating from one computer to a different computer. This method is usually used to create a clone of the original system. It is recommended that you install the same Windows Operating System (with the same service packs) on the restore computer as was installed on the original computer.
This procedure requires some additional steps before you can launch the actual restore process. The steps are as follows:
The sections below are collapsed. Please click the section title to open / close a particular section.
For complete instructions on Installing Carbonite Safe Server Backup and Importing the Cloud Certificate, please refer to the knowledge base articles linked below:
Importing Existing Backup Sets
To import existing backup sets, follow the steps below:
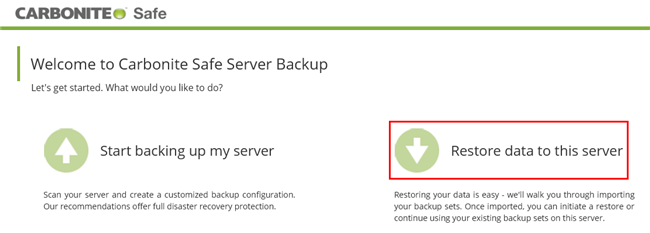
- Launch the CSSB Enhanced Interface. If an option to Restore data to this server exists, click it and proceed to step 3. If no such option exists, proceed to the next step.
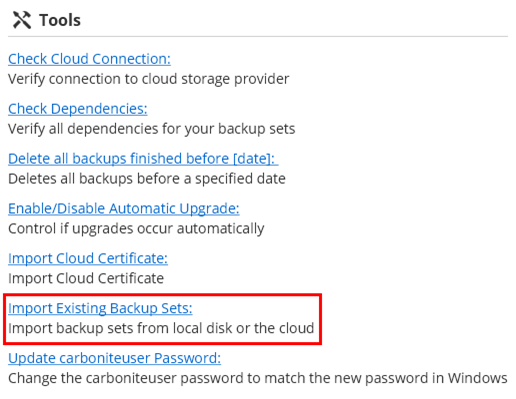
- Navigate to the Advanced page, and within the Tools section click the Import Existing Backup Sets link.
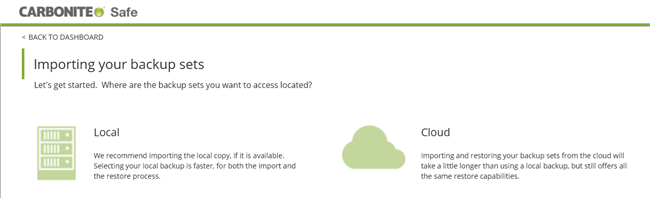
- On the next screen that appears, you will have the option of selecting a local copy of your backup set or a copy in the cloud for import.
- After making your selection, enter information about the backups you wish to recover and click Import Backup Set.
- CSSB will scan for valid backups using the information you have provided. This process can take a long time to complete.
- When prompted, close and restart the CSSB Enhanced Interface to complete the Import Existing Backup Sets process.
- All functions, including reports and data restores, will be available for the backups and backup sets.
For additional information about importing existing backup sets, please view this Knowledge Base article.
Once the backup sets have been successfully imported by CSSB, you can follow the normal restoration steps outlined in the Restoring the Backup Data section above.
 Feedback