

Removing Files From Your Backup

Summary:
You can remove files, folders, and drives from the computer that has Carbonite installed and the deselected files will be removed from Carbonite backup within 72 hours.
This article applies to:
| Carbonite Plans | Products | Platforms |
| Basic, Plus, Prime, Core, Power, and Ultimate plans (Not sure?) | Safe and Safe Pro (Not sure?) | Windows - View the Mac article |
Note: If you are a Carbonite Safe Backup Pro user and experience difficulty deselecting files, contact your account administrator to configure your backup policy. Your computer's backup policy may be forcing the inclusion of certain folders.
Solution:
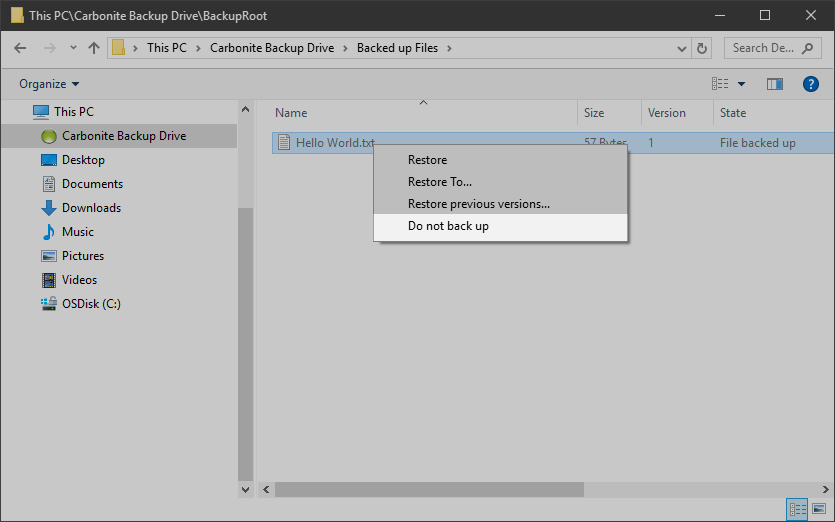
To remove files from your backup, use the Carbonite Backup Drive following the steps below. The Carbonite Backup Drive provides a view into the files and folders included with your backup and will display the file size of each as you browse.
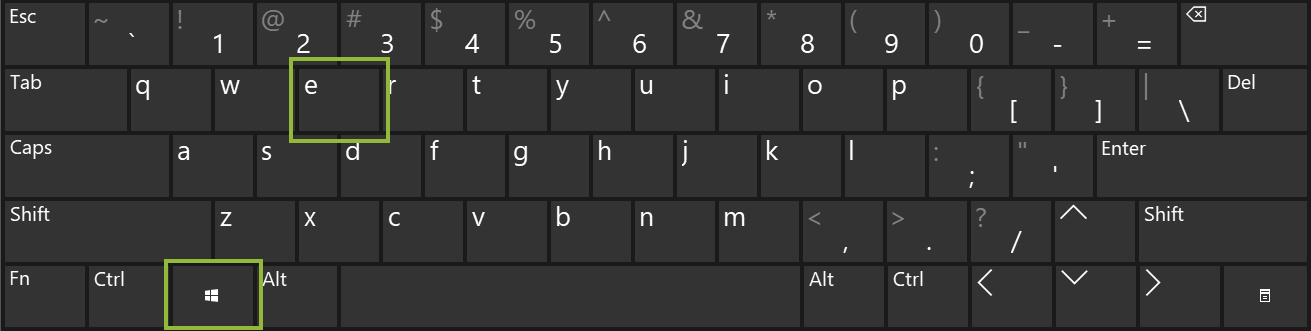
- Open File Explorer by pressing the Windows logo and ‘E’ key on the keyboard at the same time.
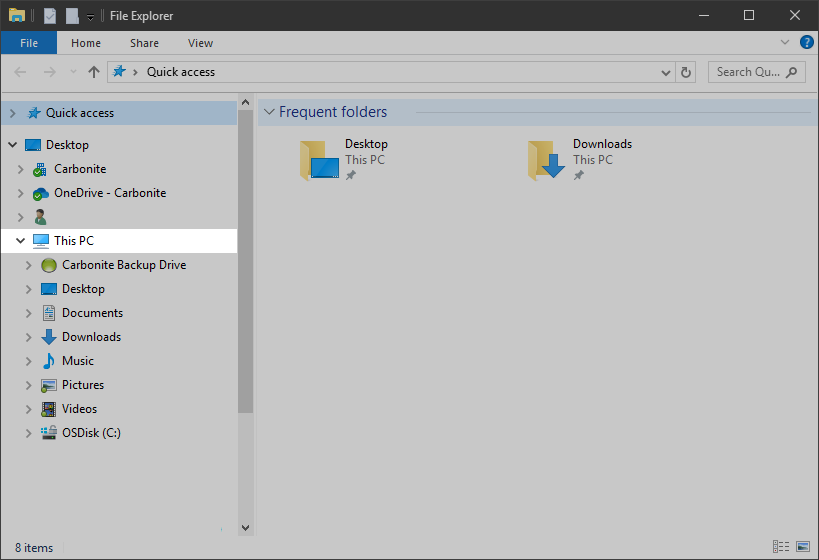
- Within File Explorer, click This PC.
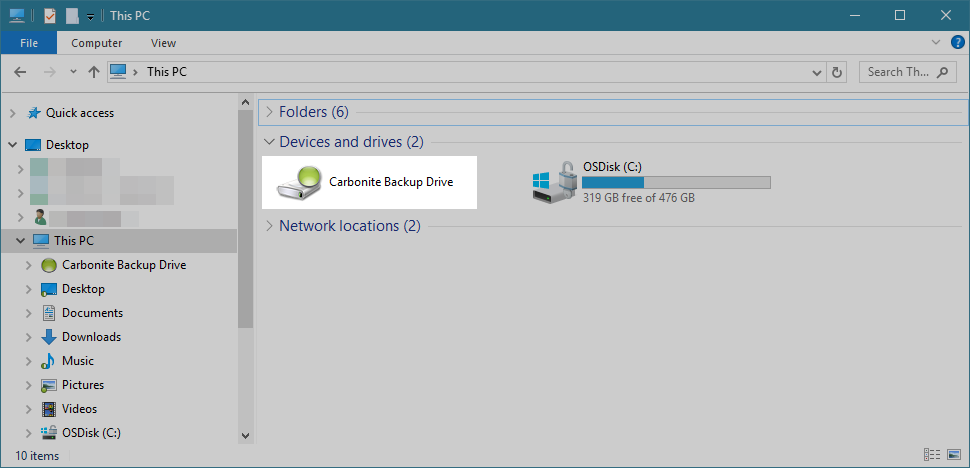
- Double-click Carbonite Backup Drive.
- Double-click Backed up Files.
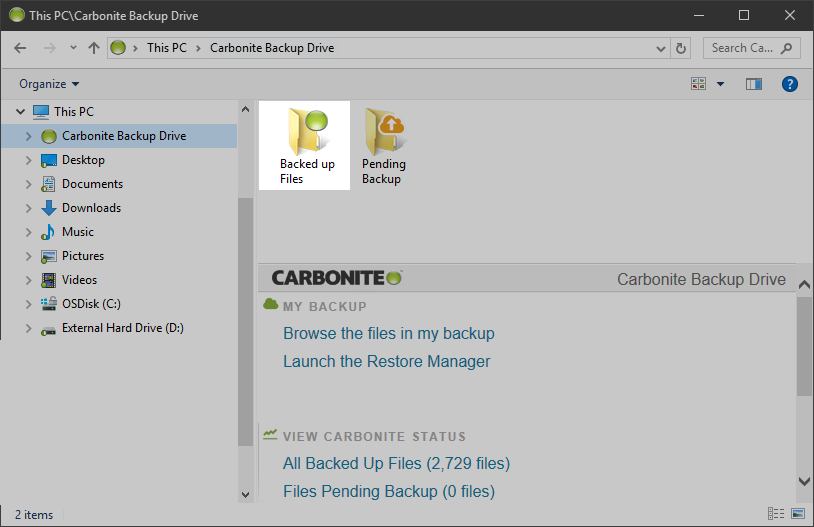
- Double-click through your Carbonite backup and find the file, folder, or drive that you do not want to be backed up.
- After you find the file you want to remove from the Carbonite backup, right-click on it and select Do not back up.
- Choosing Do not back up for a folder will also stop the contents of the folder from being backed up with the exception of items that were added to the backup manually.
- The option may instead say Remove from backup if the file has already been deleted from the local computer.
- Note: To exclude a user profile folder, you must first disable the Carbonite's default backup policy from the Carbonite UI. From the Carbonite UI, click on Settings & controls and make sure there is no checkmark next to Include Carbonite's default file types in my backup.
-
Click Yes in the confirmation window to proceed with removing the folder from your backup.
If you are a Carbonite Safe Backup Pro user and experience difficulty deselecting files, contact your account administrator to configure your backup policy. Your computer's backup policy may be forcing the inclusion of certain folders.
 Feedback