

Restoring Files (Mac 1x)

- This article is for Mac 1x - View the Mac 2x article (Not sure?) | View the Windows article
Summary:
You can restore files and folders through the Carbonite System Preferences pane.
Solution:
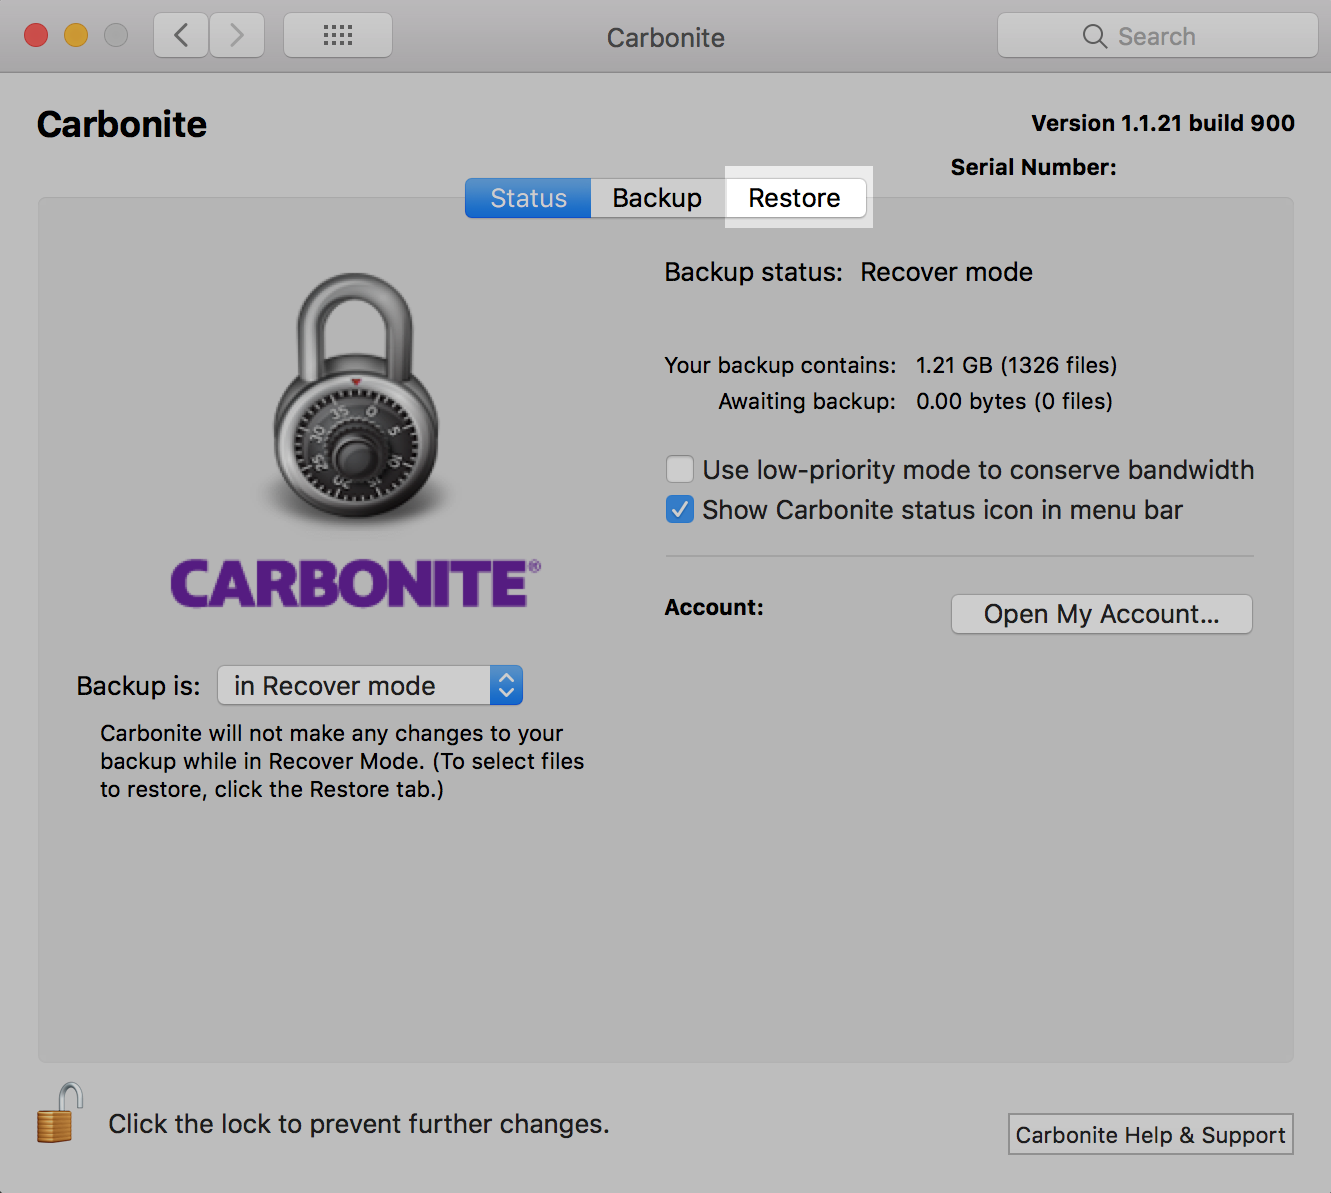
- Before you restore files, you should enter Recover Mode to avoid losing deleted or missing data.
- Please also ensure you have enough free space on your computer to store any and all data you intend to restore.
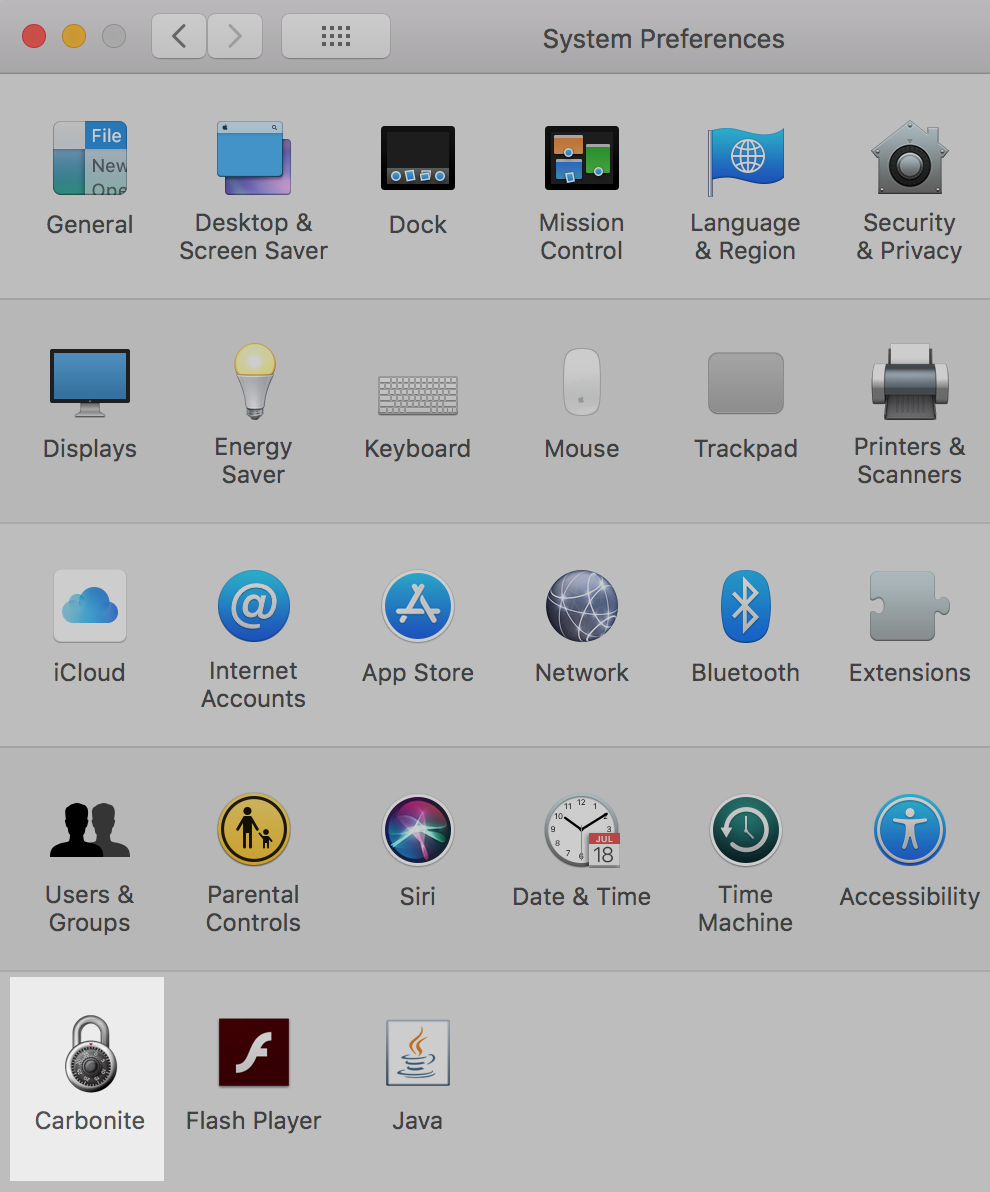
Open your System Preferences from the Apple icon in your menu bar.

Select Carbonite.
Click the Restore tab.
Browse to the file you wish to restore. Once located, click the file to select it.
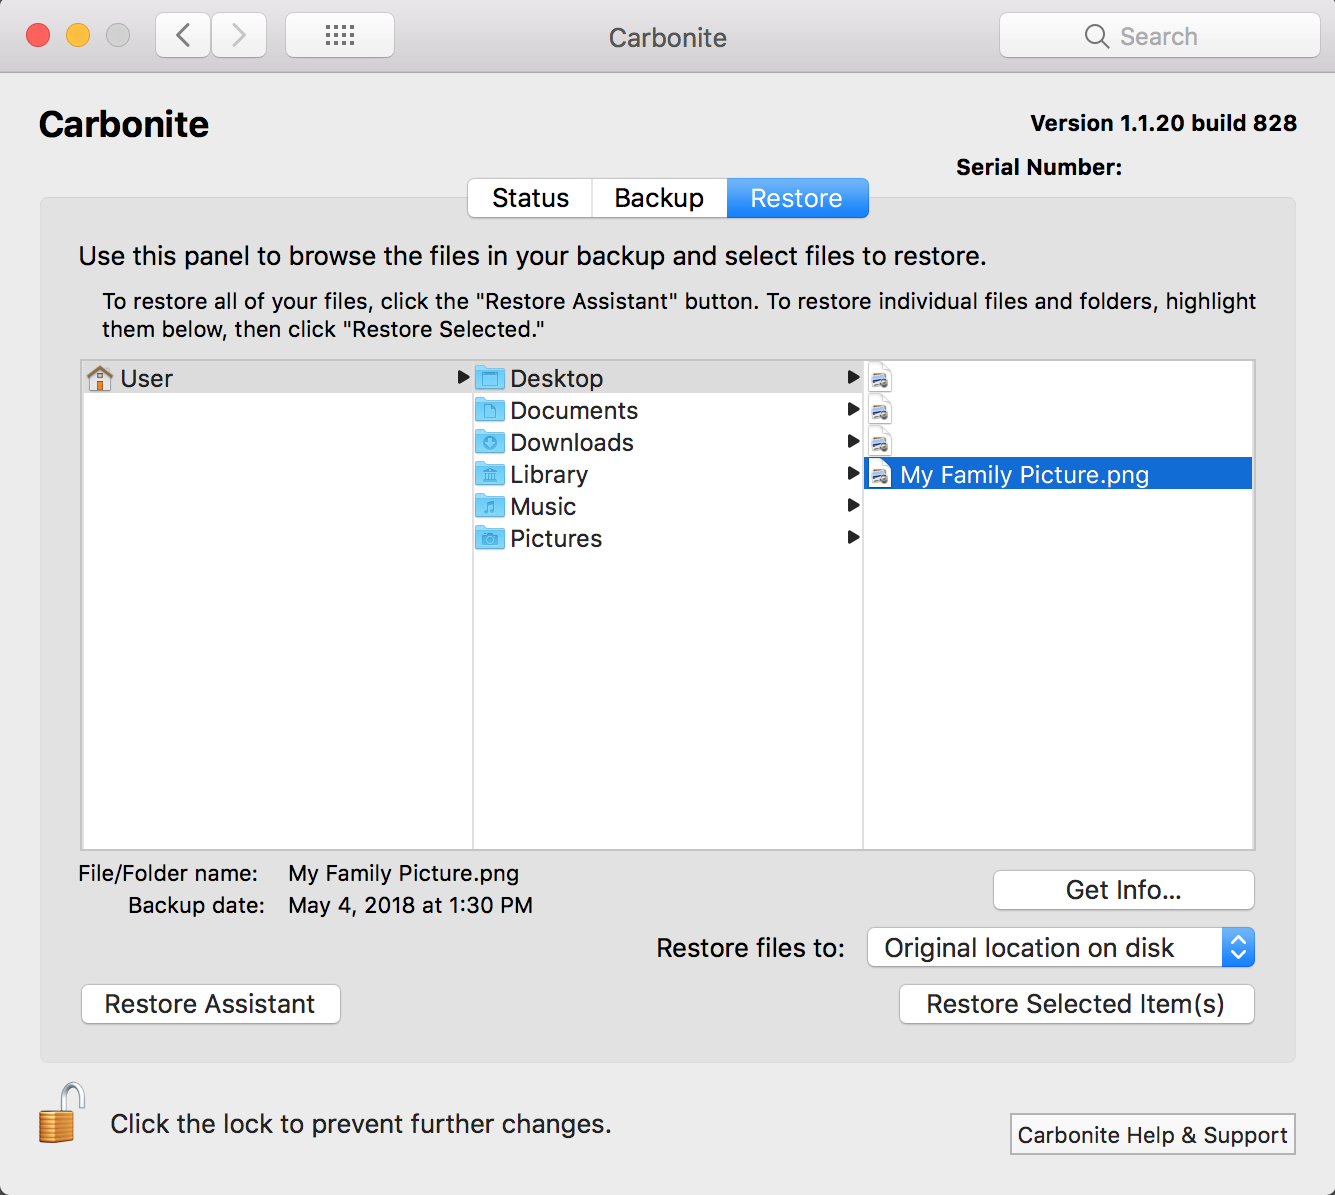
Grayed out files that appear here are not backed up.
Choosing a Restore Location
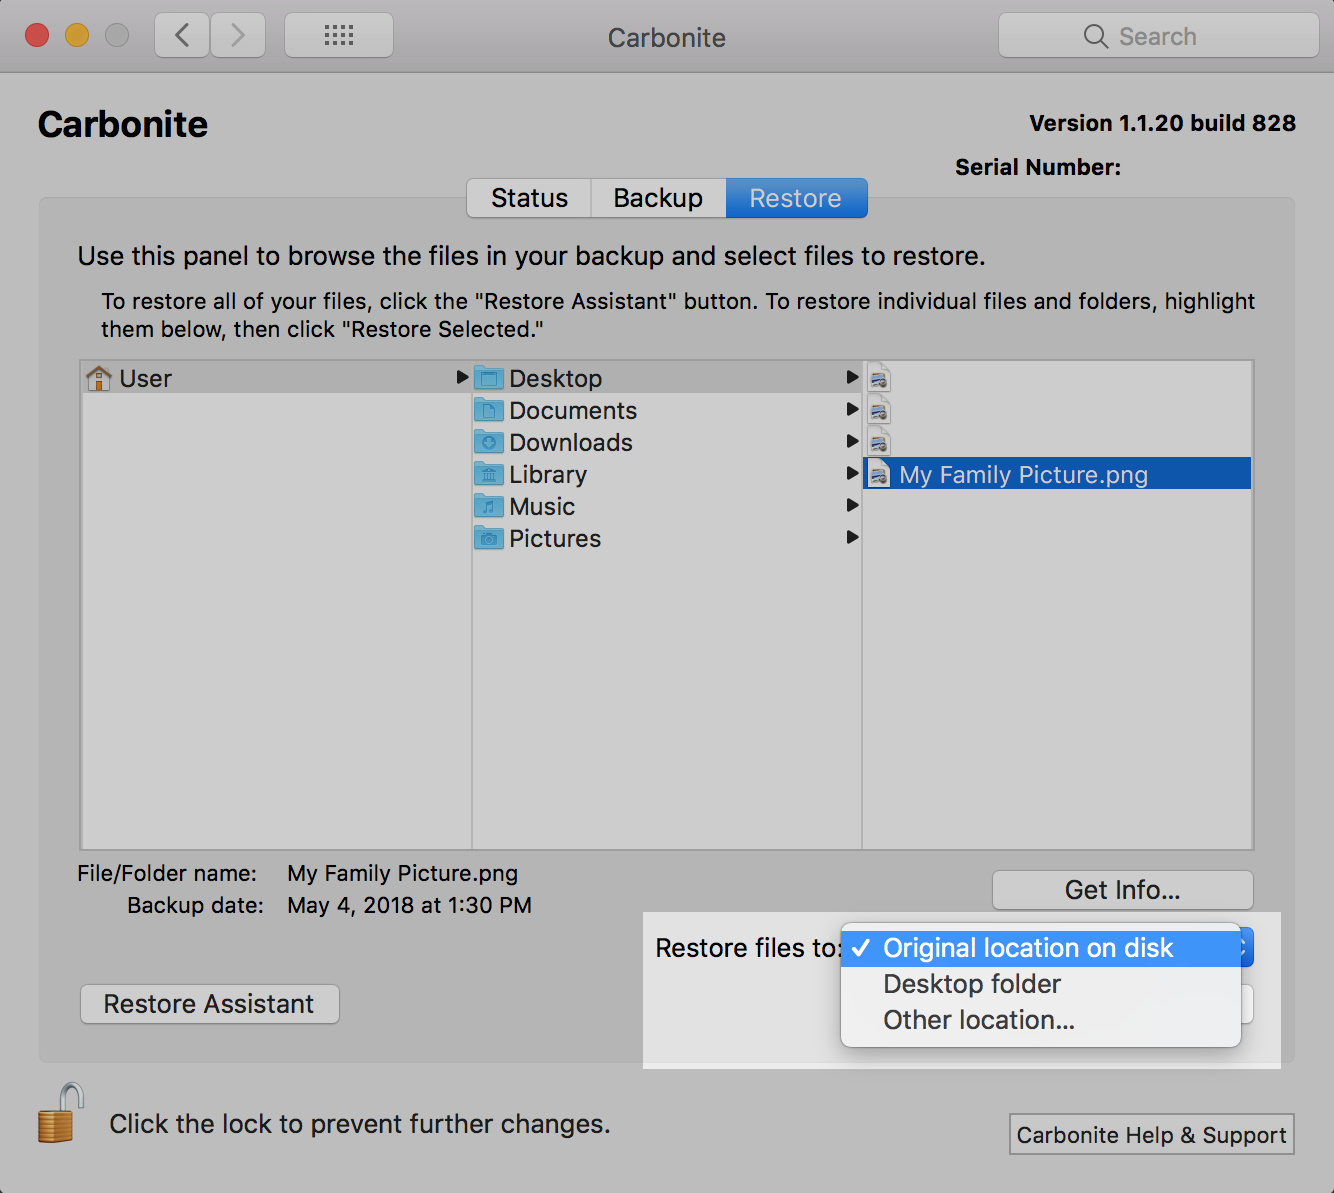
Restore files to: Allows you to choose the location to which your data will be restored:
- Original Location on Disk: Restores to original location.
- Desktop Folder: Creates a desktop folder called Carbonite Restored Files and restores to it.
- Other Location...: Manually select a custom restore location.
Make your selection and click Restore Selected Item(s).
Click the button on the right to restore the file to the specified location. If a file with the same name already exists at that location, it will be overwritten.
If you wish to choose a different restore location, click one of the other buttons.

Now just sit back and relax while your files are restored to your computer.
 Feedback