

Restoring All of Your Files for Carbonite Safe Backup Pro (Mac 1x)

- This article is for Mac 1x - View the Mac 2x article (Not sure?) | View the Windows article
Summary:
When you restore your files, you download them from our cloud to your computer. You can install Carbonite on a new Mac and restore all of your files with the Carbonite System Preferences pane.
Solution:
The sections below are collapsed. Please click a section title to open / close the appropriate section.
Sign into your Carbonite account at https://account.carbonite.com using your email address and Carbonite password.
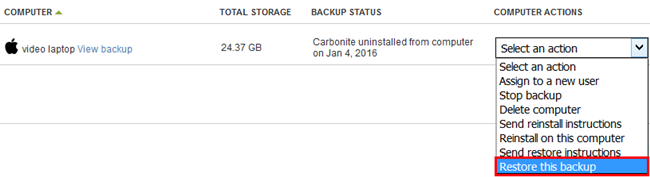
Click the name of the User whose computer you need to restore files from:

Select Restore this backup from the drop-down menu under Computer Actions:
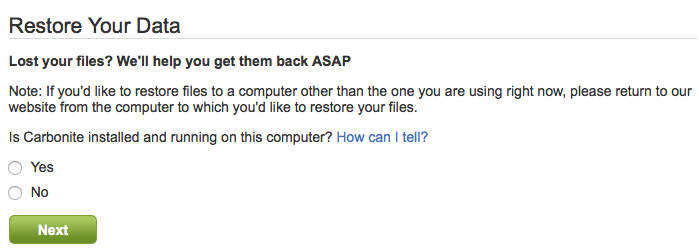
You'll be asked if Carbonite is already installed. Click No, then Next to proceed.
If you have multiple Macs on your account, you'll be asked two additional questions:
- Which computer are you currently using? - Select the computer you are using from the options on screen, then click Next.
- Which computer's backup would you like to restore from? - Select the computer you wish to restore data from, then click Next.
After this, just click Download Now to download the installer file to your system.
Next, please double-click the installer and run through the installation steps with the Restore Assistant.
The Carbonite Restore Assistant window will open at the end of the installation. Click Yes, help me restore files now.

The Restore Assistant guides you through a step-by-step process to restore your backed up files. You can restore all of your backed up files to user accounts of your choosing.
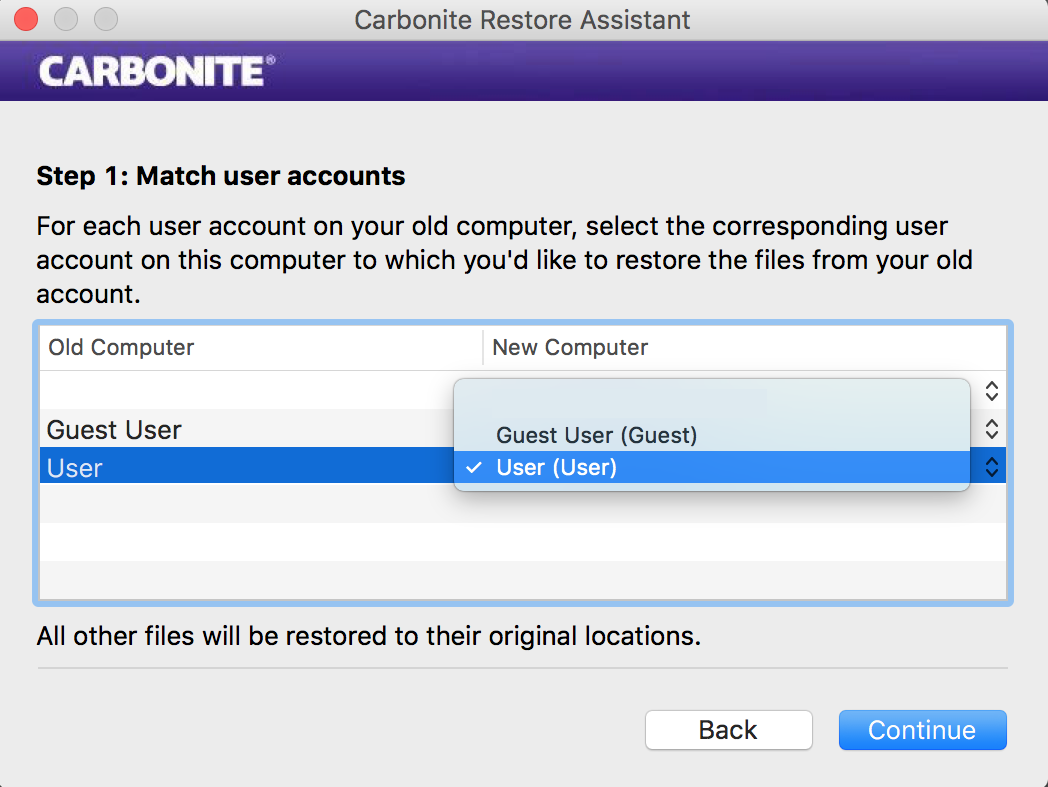
Match User Accounts
This step allows you to restore your backed up files to a different user name. Usernames that were backed up on the old computer will be displayed on the left. The drop-down list(s) on the right contain the user locations available on the current computer.
Use the drop-down list(s) to choose a target restore location for each user. After making your selections, click Continue to proceed to the next step.
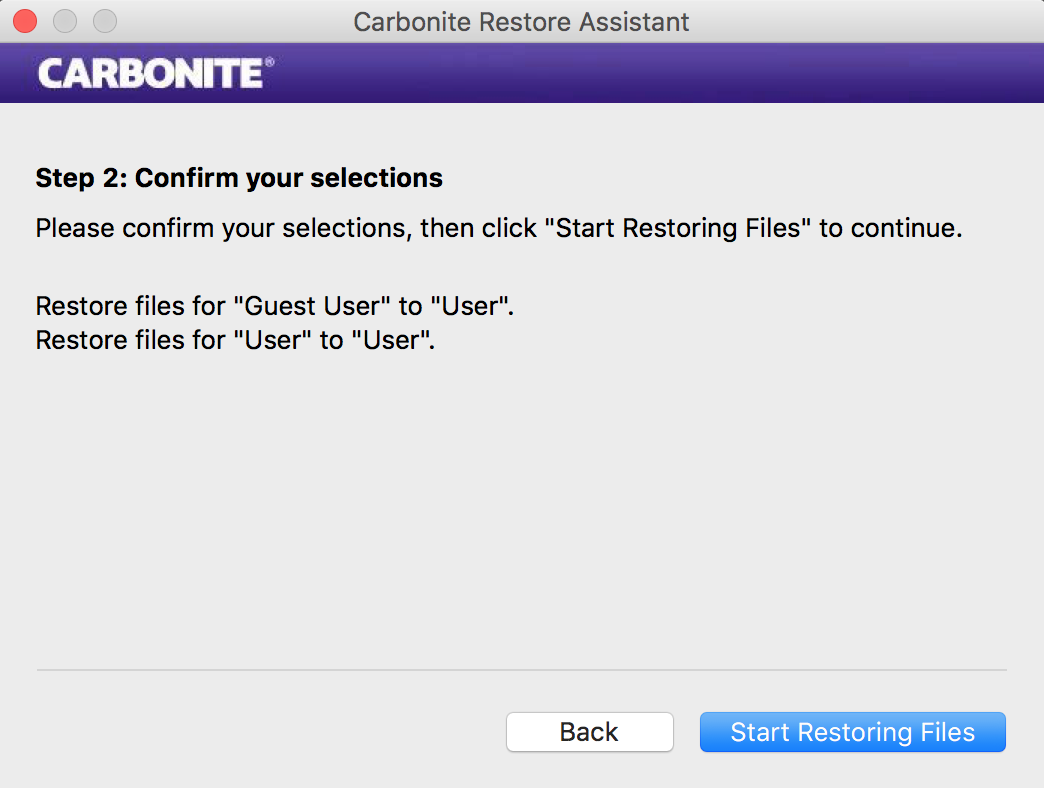
Confirm Your Selections
Your restore selections will be displayed. To confirm and start your restore, click Start Restoring Files.
Your restore will begin. If you select the Open Carbonite Status Panel when I Click "Done" checkbox, your restore status will display after you click Done in this window.
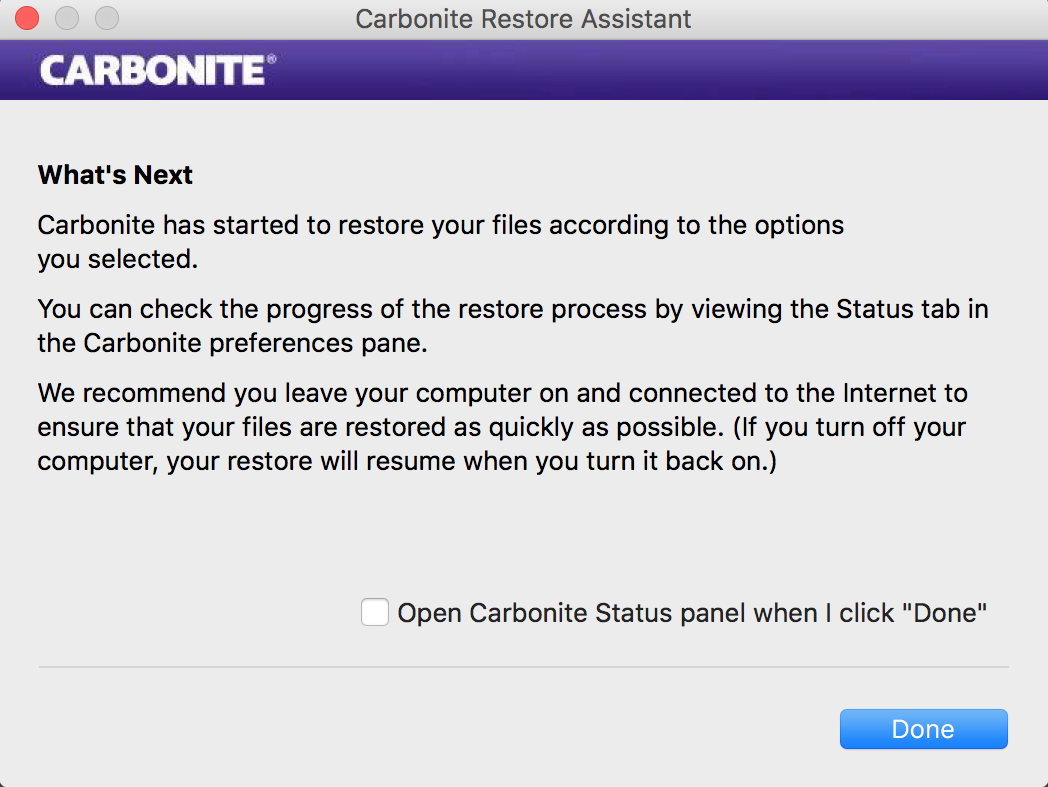
It is strongly suggested that you keep your computer on keep Carbonite in Recover Mode until the restore is complete.
You can improve the speed of your restore by making sure that your computer remains on and connected to the internet. Your Mac's power settings can be accessed through Energy Saver in your System Preferences.
Click the Apple symbol in the menu bar and select System Preferences.

Within the System Preferences window, click the Energy Saver icon to open the Energy Saver pane.

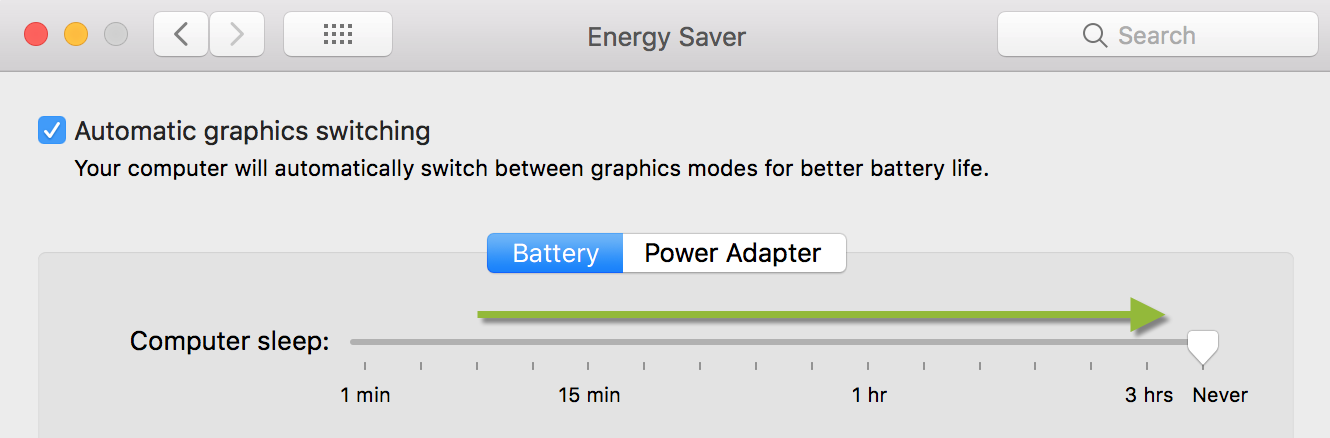
If the Computer Sleep Slider is Present...
- Set the Computer sleep: slider bar to Never.
- Unmark Put the hard disk(s) to sleep when possible.
If the Computer Sleep Slider is Not Present
- Check the Prevent computer from sleeping automatically when the display is off.
- Unmark Put the hard disk(s) to sleep when possible.

After making these adjustments, close System Preferences. You can continue with your normal computer tasks.
At this point, your restore will progress automatically. You can use your computer as needed, but please try not to move or delete any restored files while the restore is happening to avoid potential issues.
After the restore is finished, please use the Carbonite Post-Restore Checklist article to guide you through what to do after a restore completes and ensure you are ready to continue using Carbonite.
 Feedback