
 Support
 Contact
 Sign In



Starting Your Backup Over (Mac 2x)

Summary:
To start your backup over from scratch, use the Carbonite User Interface to deselect all of your files for backup and reselect just the locations you wish to include in your backup.
This article applies to:
| Carbonite Plans | Products | Platforms | Version |
| Basic, Plus, Prime, Core, Power, and Ultimate (Not sure?) | Safe and Safe Pro (Not sure?) | Mac - View the Windows article | 2.x (Not sure?) - View the 1.x article |
Solution:
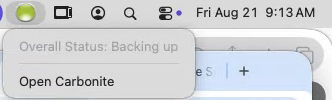
- Click the Carbonite icon in the menu bar and select Open Carbonite.
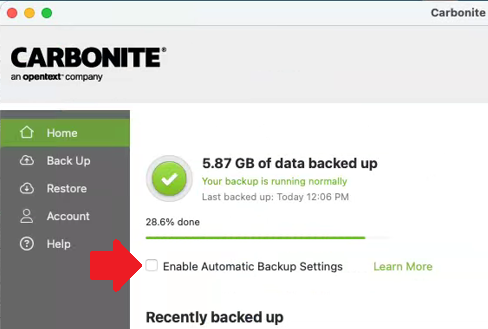
- Make sure that the Enable Automatic Backup Settings option is unchecked. Failing to do so will result in all of the default selections to be made again within 3 hours.
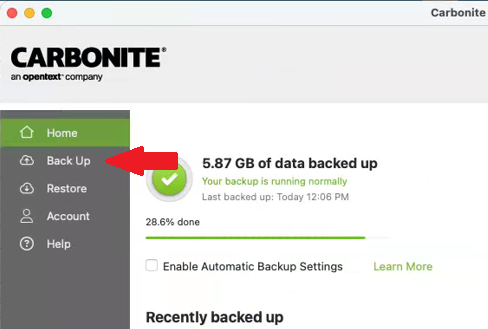
- Within the Carbonite User Interface click the Back Up tab on the left navigation.
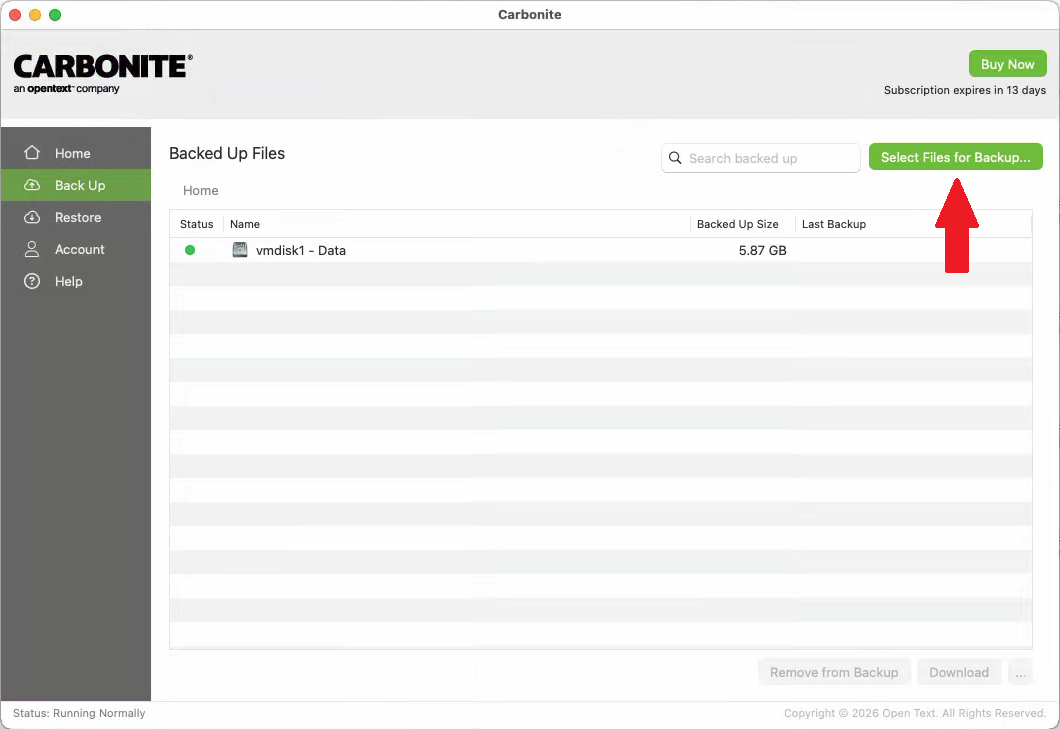
- Select Macintosh HD - Data (your hard drive; it may be named something different on your system) and click the Remove from backup button at the bottom of the window. Files unselected by this process will be removed from our servers within 72 hours.
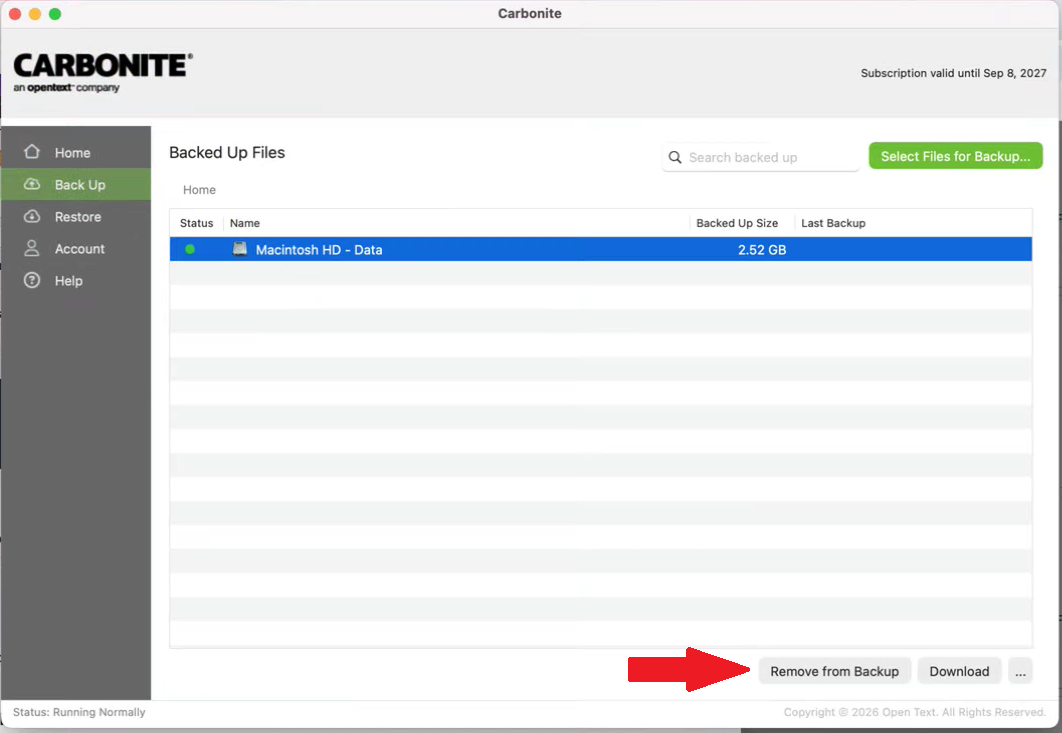
- After the hard drive has been deselected, you can add the files/folders to your backup by clicking the Select Files for Backup... button in the top right of the user interface.
- From here you can navigate your drive and select the file/folder(s) that you want and click the Add to Backup button.
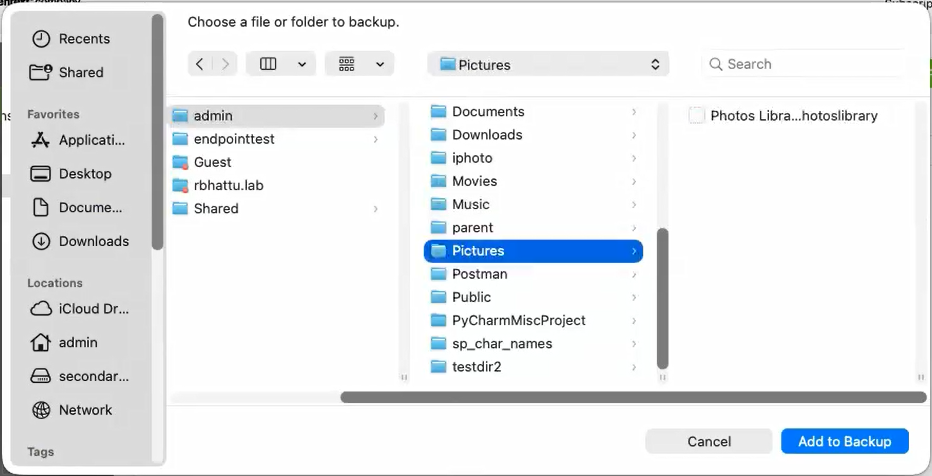
Any files that you don't reselect will be removed from our servers after 72 hours.
 Feedback