

Configuring Full Disk Access for Webroot SecureAnywhere Antivirus

Summary:
Starting with macOS Mojave 10.14, you need to configure Apple’s Full Disk Access to allow Webroot SecureAnywhere to access and protect your files.
This article applies to:
| Carbonite Plans | Products | Platforms |
| Plus and Prime (Not sure?) | Webroot SecureAnywhere Antivirus (Not sure?) - View the Carbonite article | Mac |
Solution:
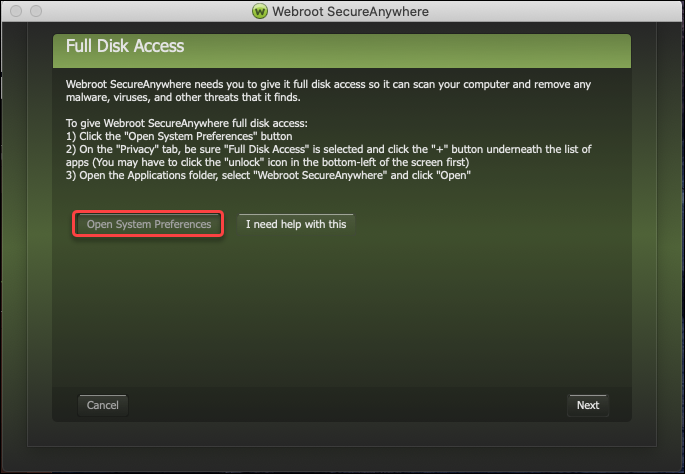
- Open Webroot SecureAnywhere.
- Click Open System Preferences.
- Under Security and Privacy, click Privacy.
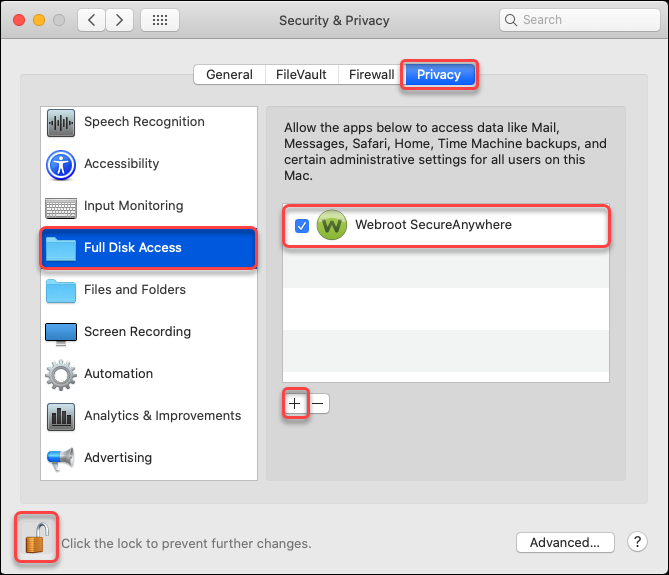
- In the apps list on the left, select Full Disk Access.
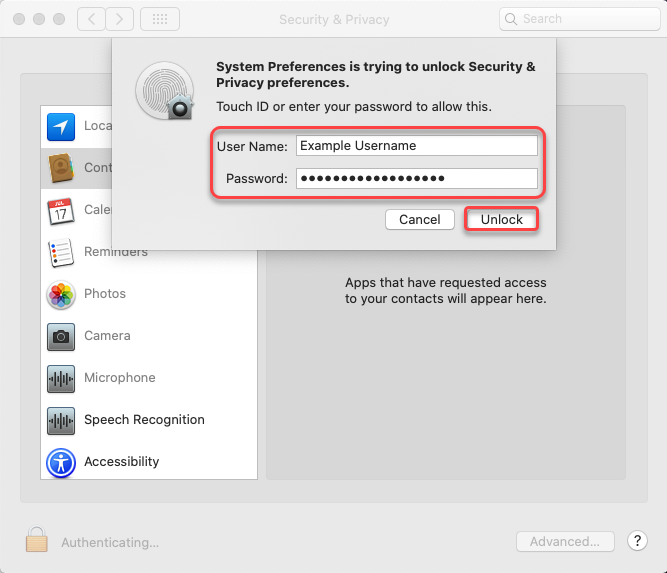
- If the padlock icon is locked, click it. Enter your Mac username and password, then click Unlock.
- To the right of the apps list, click the “+” button.
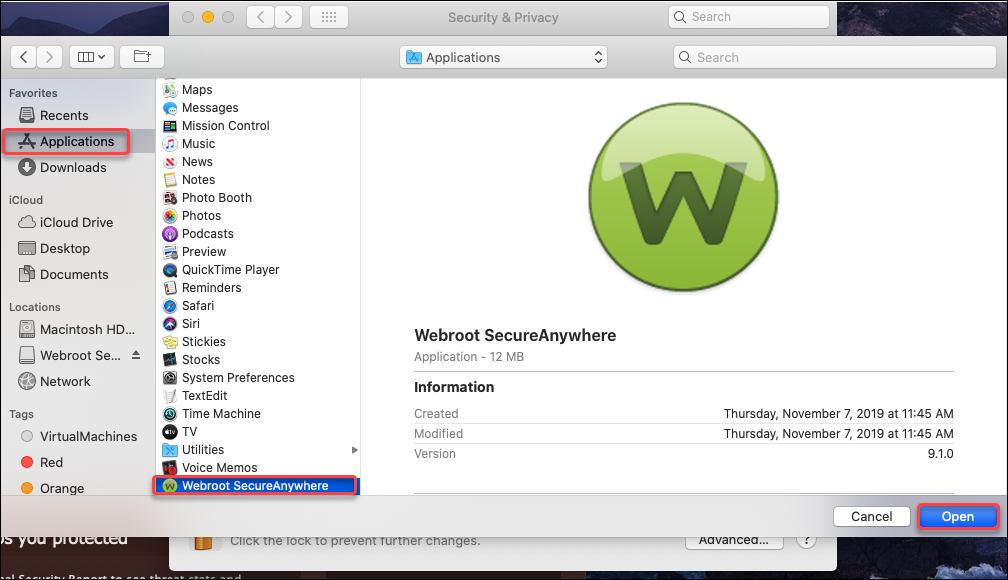
- Click Applications.
- Select Webroot SecureAnywhere and click Open.
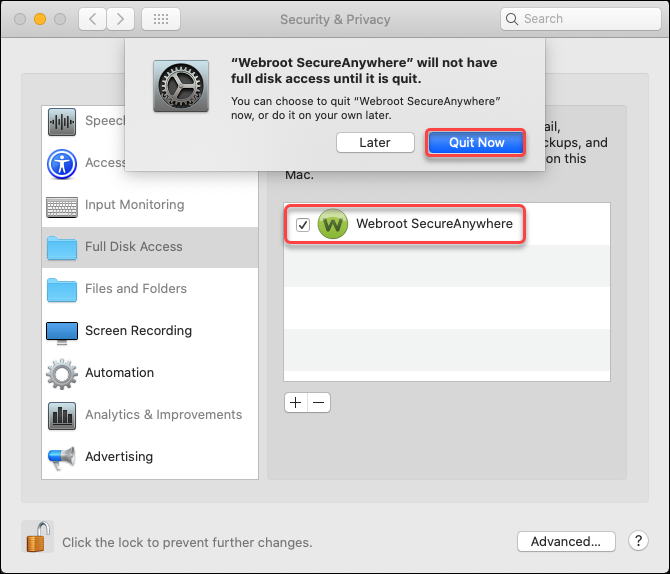
- Select the checkbox next to Webroot SecureAnywhere.
- Click Quit Now.
- Return to the Webroot SecureAnywhere window and click Next.
- Click Install Extension.
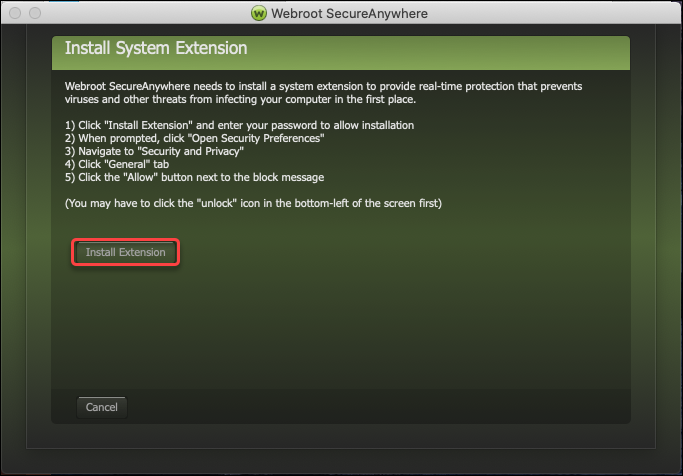
- Once the pop-up shows Installation finished, click Finish.
 Feedback