

The Backup Tab (Mac 1x)

- This article is for Mac 1x - View the Mac 2x article (Not sure?)
Summary:
You can review or change your backup settings, add files and folders to your backup, and view the status of your backup through the Carbonite Preference Pane Backup Tab.
Solution:
Click the Apple symbol in the menu bar and select System Preferences.

Within the System Preferences window, click on the Carbonite icon.
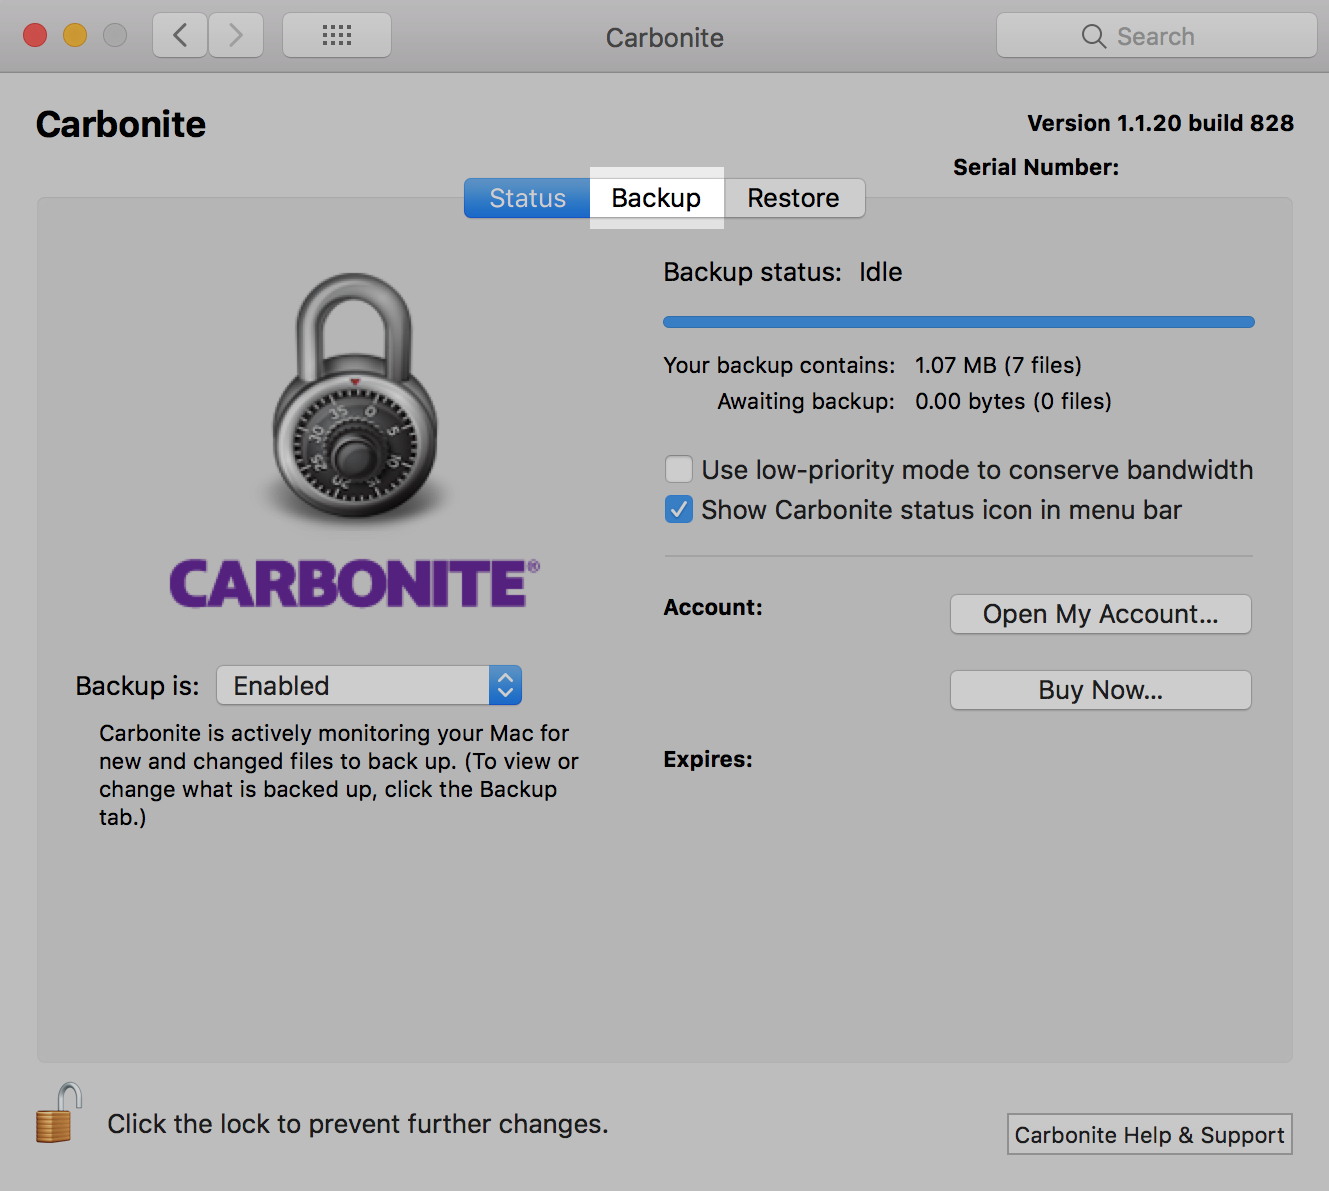
The Carbonite Preference pane will be displayed. Click the Backup tab.
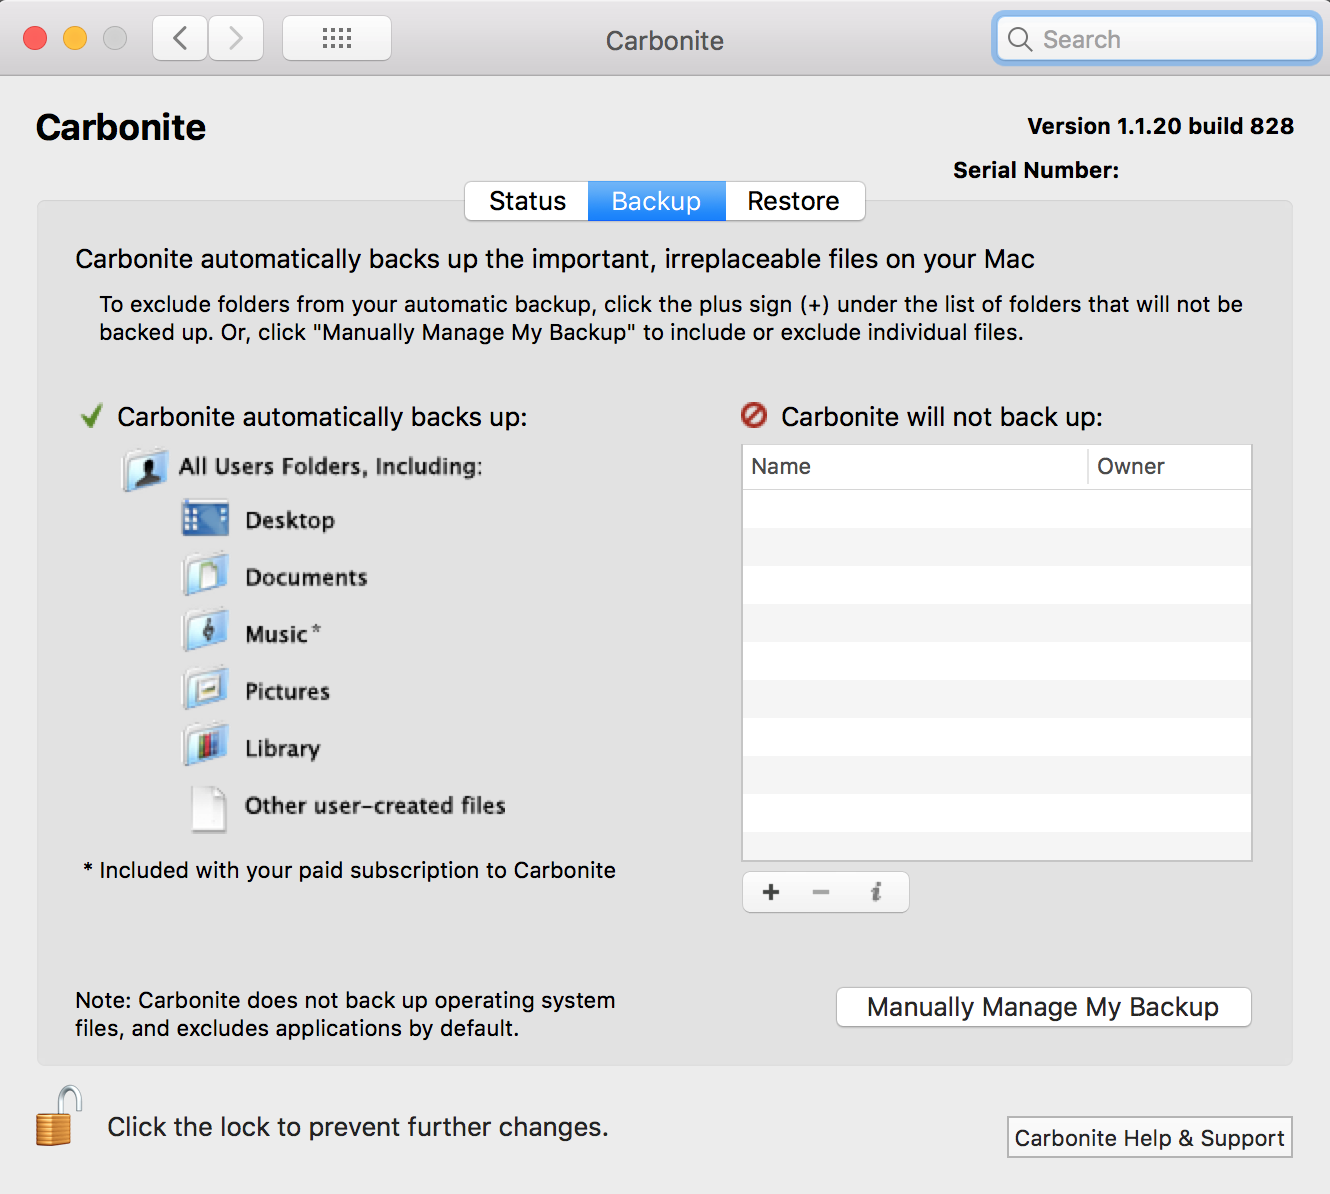
The appearance of the Backup Tab will vary depending on the current configuration of your backup:
Automatically Manage My Backup
If you choose the Automatically Manage My Backup option, Carbonite will automatically select and back up the documents, pictures, and other files in your users folder (music and video files are not automatically included during free trials).
Note: If your Backup Tab doesn't look like the one in the screenshot below, click the Automatically Manage My Backup button.
To prevent specific files or folders from being backed up, click the ( + ) button and select them.
Manually Manage My Backup
If you choose the Manually Manage My Backup option, you can fine-tune your backup selections.
Note: If your Backup Tab doesn't look like the one in the screenshot below, click the Manually Manage My Backup button.
The files and folders on your computer will be displayed with colored status dots on them to indicate their backup status.
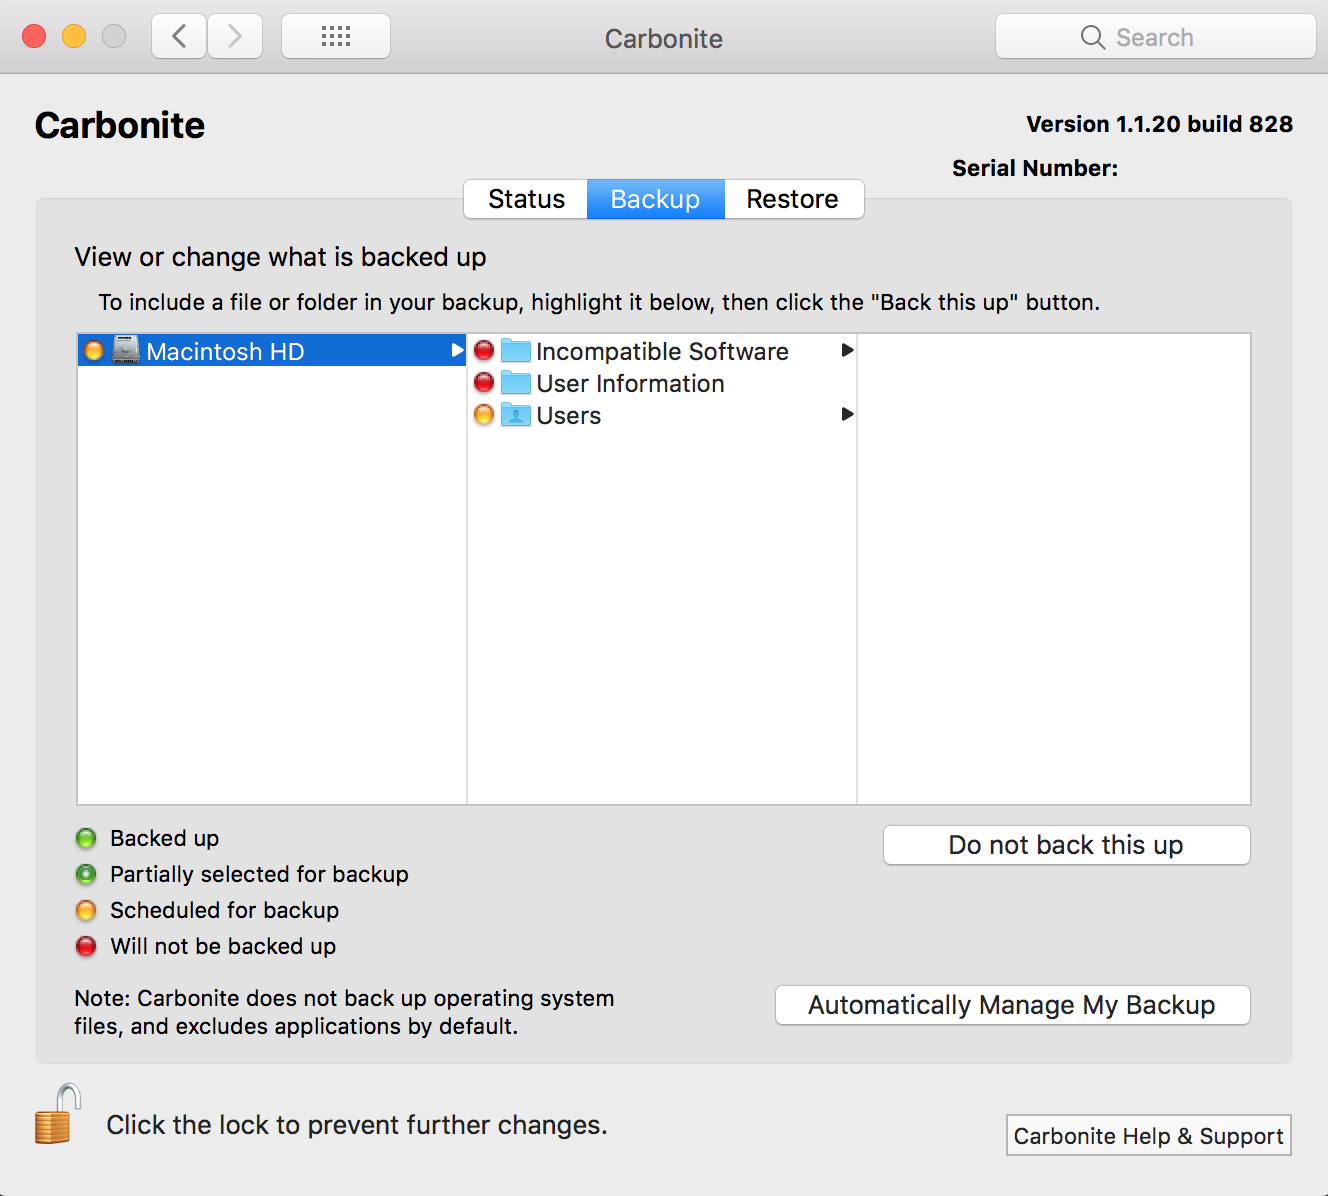
| Icon | Backup Status |
|---|---|
 |
Green Dot on File: file has been backed up. |
 |
Yellow Dot on File: file been selected for back up, but the back up is pending/not yet completed. |
 |
Green Dot on Folder: folder and all of the folder's contents have been backed up. |
 |
Green Donut on Folder: folder's contents have been selected for back up and backup is complete but some of the folder's files or sub-folders have not been selected for back up. |
 |
Yellow Dot on Folder: folder contains files or sub-folders that have been selected for back up, but the back up is pending/not yet completed. |
 |
Red Dot on a File or Folder: not selected for back up. |
To add excluded files and folders to the backup, select the desired data and click Back this up. To remove included files from the backup, select the desired data and click Do not back this up.
 Feedback