

Updating Clients to the Latest Version of Carbonite for Windows

Summary:
The current SSL server certification for Carbonite Windows backups expires on May 30th, 2020. It is imperative that your clients update to the latest product version of Carbonite, which has the updated certificate.
This article applies to:
- Partners managing Carbonite Safe Backup and Carbonite Safe Backup Pro accounts.
- Operating System: Windows – View the Mac article
Solution:
The sections below are collapsed. Please click the section title to open /close a particular section.
Updating Carbonite to the Latest Version for Clients with Admin Rights
As a partner, you can use the Partner Portal to update Carbonite Safe Backup Pro for clients if you have access to their computer and you are an administrator of the account.
- From the target computer, sign in to your partner account at https://portal.carbonite.com or with the button below.
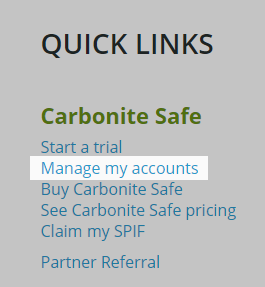
- Once signed in, click Manage my accounts within the Quick Links section for Carbonite Safe.
- From the Account column, click the name of the account that has the Windows version of Carbonite that you would like to update to the latest version.

- Click Manage computers & users to view the customer’s Carbonite Safe Backup Pro Dashboard.

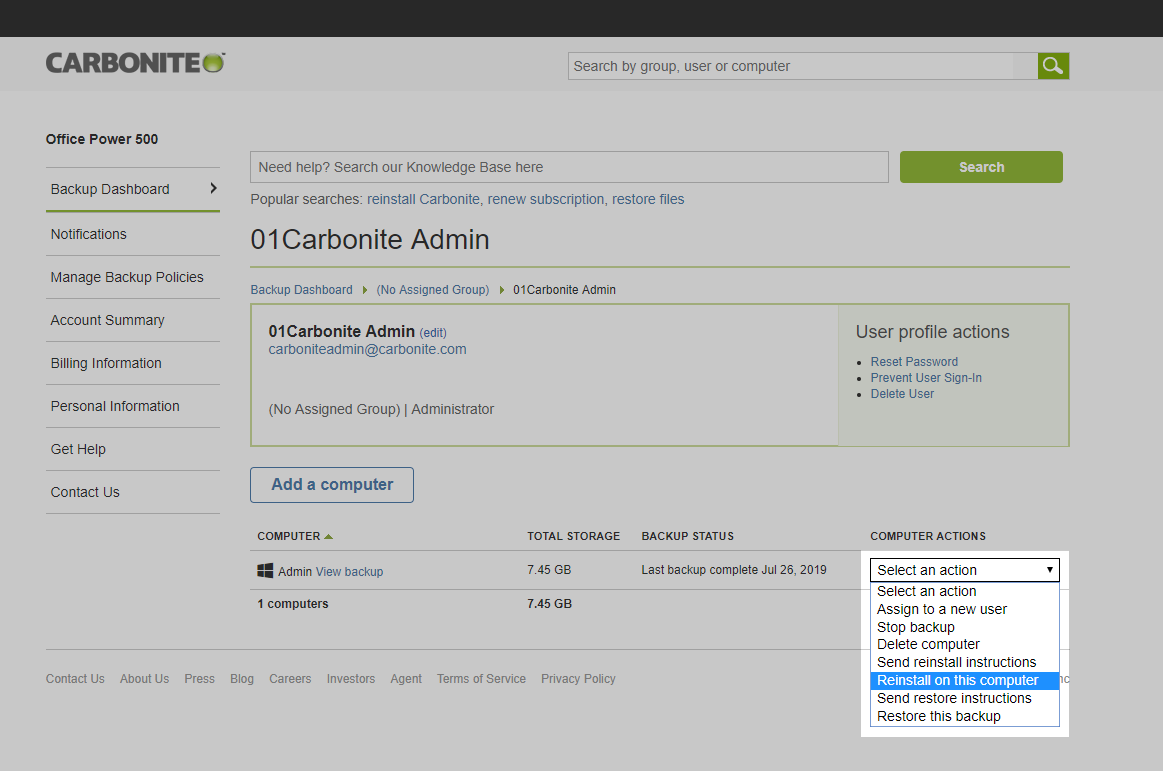
- After you are on the Backup Dashboard tab of the client’s account, click the user or administrator name that has the backup that you want to update.

- From the Computer Actions column of the user’s page, use Select an action to choose Reinstall on this computer.
- On the next page, click Download Now.
- Depending on your web browser, use the instructions below to open the downloaded file.
- Within Google Chrome, the Carbonite icon will appear in the bottom left of your screen. Click the file to open it.
- Within Mozilla Firefox, a message will appear asking if you would like to save the file. Click Save File, click the arrow in the top right corner of your screen, and double-click the file to open it.
- Within Microsoft Edge or Internet Explorer, click Run at the bottom of the screen to open the Carbonite file.
- After following the steps for your web browser above, a User Account Control alert will appear. Click Yes to continue.
- The Carbonite Terms of Service will appear. Click I agree to start the installation/update process.
After the installation completes, a success window will appear. Carbonite is now installed on your computer with the latest version and will start backing up any new files within the next few minutes.
Updating Carbonite to the Latest Version for accounts without Admin Rights
If you do not have admin rights or your client would prefer to update Carbonite to the latest version themselves, please direct them to the applicable article below.
Carbonite Safe
- Updating to the Latest Version of Carbonite Safe (Windows 7 or greater)
- Reinstalling Carbonite Safe for Windows XP and Vista (Legacy customers)
Carbonite Safe Backup Pro
- Updating to the Latest Version of Carbonite Safe Backup Pro (Windows 7 or greater)
- Reinstalling Carbonite Safe Backup Pro (Legacy and current customers)
After Carbonite is updated to the latest version, Carbonite will start backing up any new files on the computer within the next few minutes
 Feedback