

Restoring a Bare Metal Image (CSSB 6.7 and above)

- This article is for Windows only
Summary:
A Bare Metal Image backup can be restored using two methods:
- Bare Metal Restore: A Bare Metal Image backup can be restored to any computer by booting from the recovery media. This includes the ability to restore a physical machine to a virtual machine or a virtual machine to a physical machine. This is a total recovery option. Any data on the existing system, if such data exists, will be removed.
- File/Folder Level Restore: Files and folders can be restored from the Bare Metal Image backups. This is not a total recovery option.
Please remember that Exchange, Microsoft SQL Server, and SharePoint databases are backed up in separate Bare Metal Suite backup sets. If you perform a full Bare Metal Restore, you must restore these backup sets separately after the Bare Metal Restore is complete.
Note: CSSB cannot send an email notification upon success or failure of any Bare Metal Image restore. This includes both complete Bare Metal recovery and file/folder restores.
Solution:
The sections below are collapsed. Please click the section title to open / close a particular section.
Restore Requirements
The following requirements must be met, whether restoring to the original computer or to an alternate computer:
- The amandabackup / CarboniteUser user must have full access to the folder where the backups are stored.
- For cloud backups, this is the chosen Download Folder.
- For local backups, this is the folder where the backups are stored on the local disk.
- If the backups are stored in a network location, amandabackup / CarboniteUser must have access to the network folder. Please refer to How to Use External or Mapped Network Drives with CSB.
- Likewise, the amandabackup / CarboniteUser user must have full access to the folder(s) to which the backups are being restored.
Additional Requirements
- All restores require that the backup images be available in a disk location. External drives and network locations are ideal.
- Bare Metal Image backups cannot be restored directly from the cloud. If the backup images are not available on disk at all, they must be downloaded manually before the restore begins.
- If the backup images are available on disk, but that location is not accessible from the restore machine, you must copy the backup images on disk to a new location before the restore begins.
- There must be at least 2GB of memory on the system.
- This requirement increases with both the number of files in the backup and with the number of incremental backups to be restored.
- Restore will fail with out of memory errors if there is insufficient memory. Restore cannot proceed until more memory is added to the system.
- You may only perform one restore at a time.
- As outlined in the Carbonite Server User Guide, Carbonite Safe Server Backup must be installed and all CSSB operations must be performed as a user with Administrator-level privileges. If a file/folder level restore from the BMI backup fails, please ensure you are logged in as a user with administrative privileges.
- During a complete Bare Metal restore, the size of the hard drive(s) must be equal to or larger than the drives on the original system and CSSB will restore the data regardless of the storage type as long as the system can access it.
- During a complete Bare Metal restore, each disk involved in the restore must have the same sector size as the corresponding disk on the original system.
- For example: If the original system had a disk with 512 bytes per sector, the new system must also have a disk with 512 bytes per sector.
- Incompatible disks will not be shown (and cannot be selected) for restore in the recovery wizard.
How to Download Bare Metal Image Backups from the Cloud
On the Restore page, select Copy or download your image backup to a new location and click Continue. On the next screen, select the radio button for Download image from the cloud and browse to a disk location where you would like to download your image backup. Then, click Continue to begin the download process. You must enter a disk storage location, and it must meet the following requirements:
- The path to the disk storage location must not be longer than 45 characters.
- The disk storage location cannot be on a volume you have chosen as part of a restore.
- For example, if you are restoring to the C:\ drive, you cannot choose a disk storage location anywhere on the C:\ drive.
How to Copy Bare Metal Image Backups from One Disk Location to Another
It is possible to copy the Bare Metal Image backups from one disk location to another prior to restore. This may be necessary for some restores.
Take the following example. Your Bare Metal Images are stored in a network location, but you need to restore to a new system that does not have network access. You can use this function to copy your Bare Metal Image backups to an external drive prior to the restore instead of downloading the backups from the cloud.
- On the Restore page, select Copy or download your image backup to a new location and click Continue.
- On the next screen, select the radio button for Copy image to a new location and browse to a new destination folder.
- click Continue to begin the copy process.
CSSB will switch to the Dashboard automatically and the Copy Image process will be shown as a restore on this page.
Complete Bare Metal Restore
A complete Bare Metal restore will restore the entire Bare Metal Image backup to a new system. This process completely removes all existing data, if such data exists, from the new system. This restore method is primarily used for recovering from complete system failure, but may also be used during server migrations.
You must configure the system to boot from the Recovery Media. The system must be able to access the Recovery Media during boot up. If your recovery media is on a USB device, insert it before booting. If your recovery media is an ISO file, make it accessible via the network, or burn it to a CD, or otherwise ensure that the system is able to access it during the boot process.
If you do not have a Recovery Media, you must create one before you can begin the restore. Also, please recall that you must restore your Microsoft SQL Server, Exchange, and SharePoint backup sets, if they exist, separately after the Bare Metal recovery is complete. For additional information, please refer to the section below titled After a Bare Metal Recovery.
You will be greeted with several options once the system boots from the recovery media. Select Restore.
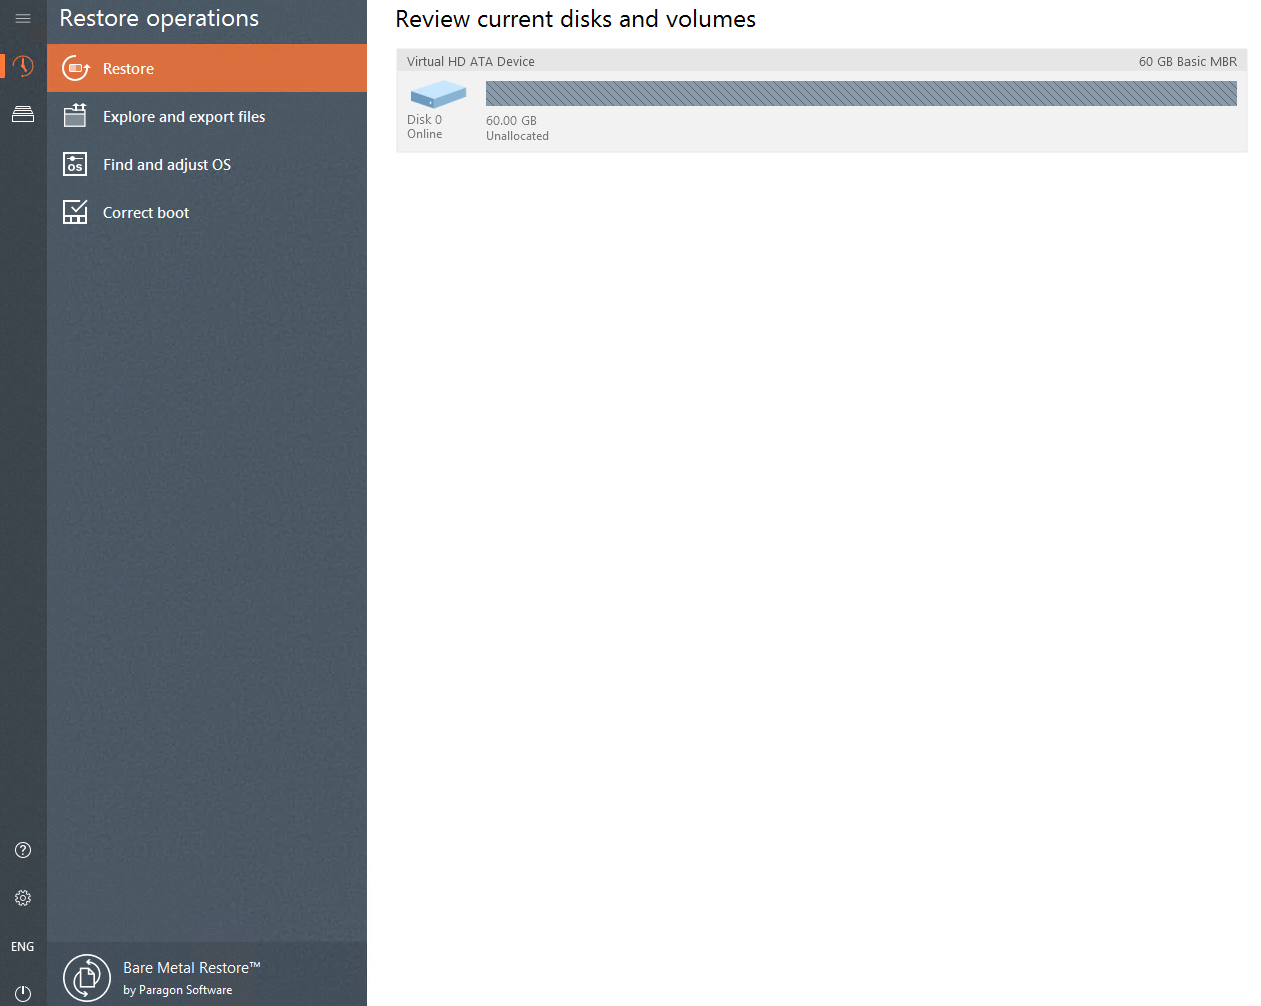
Select a backup image to restore.
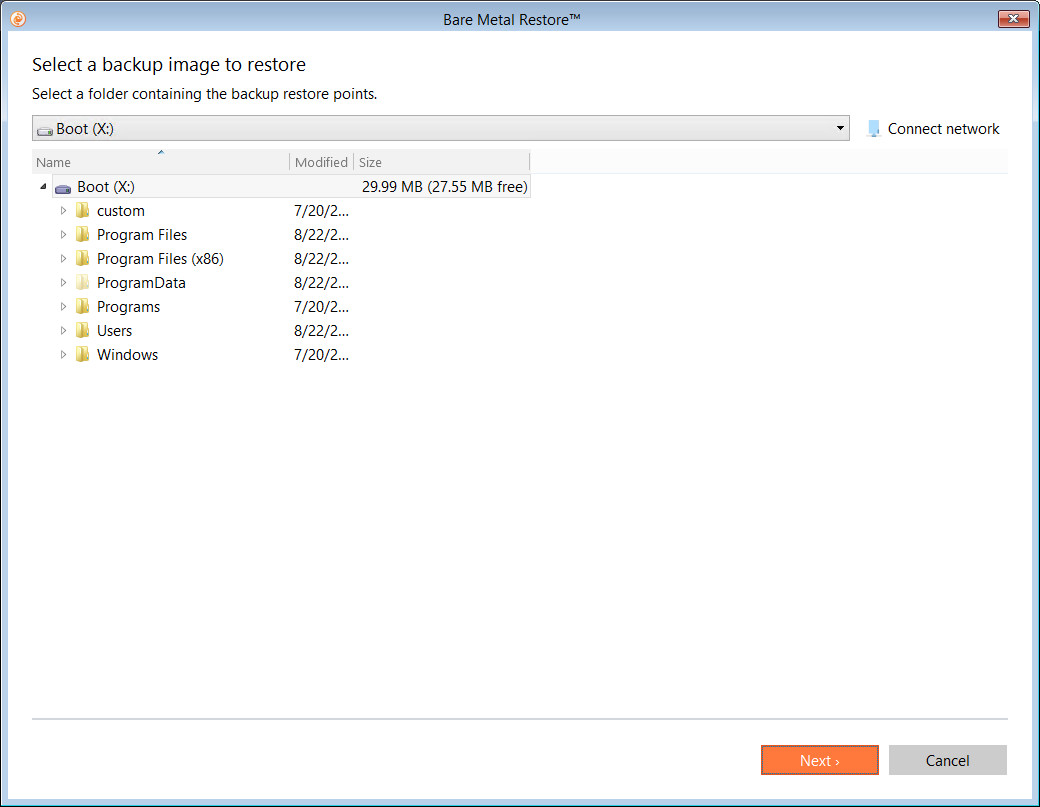
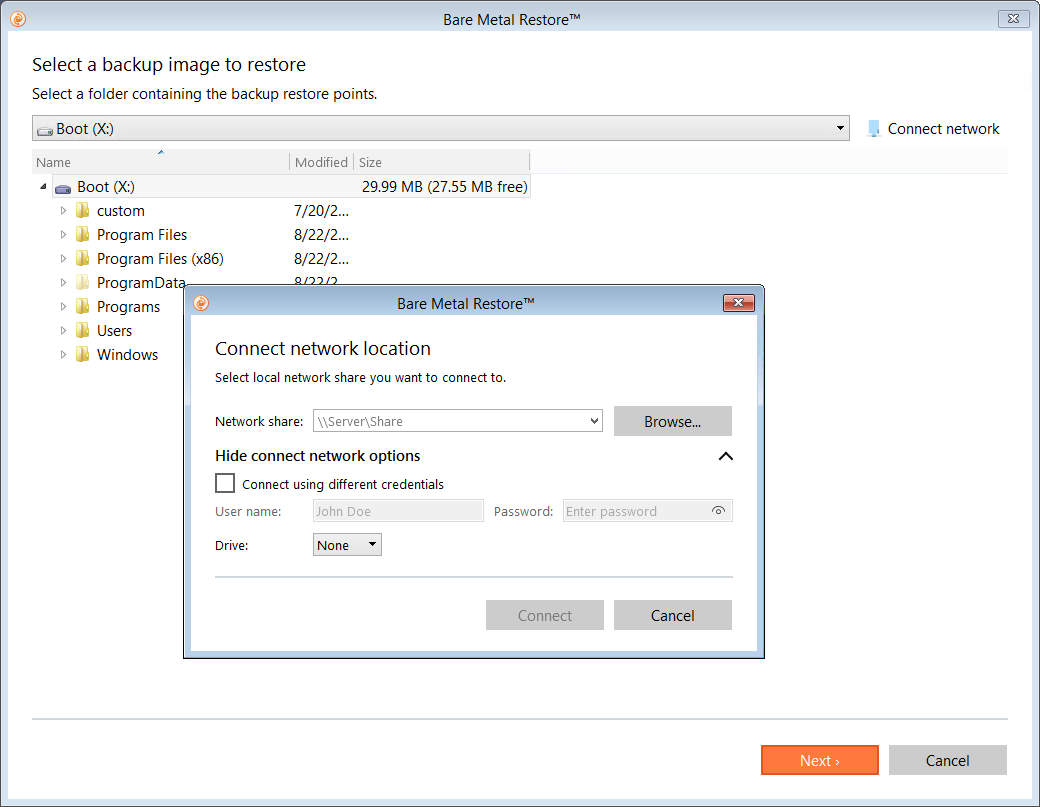
Select the network location and click Connect.
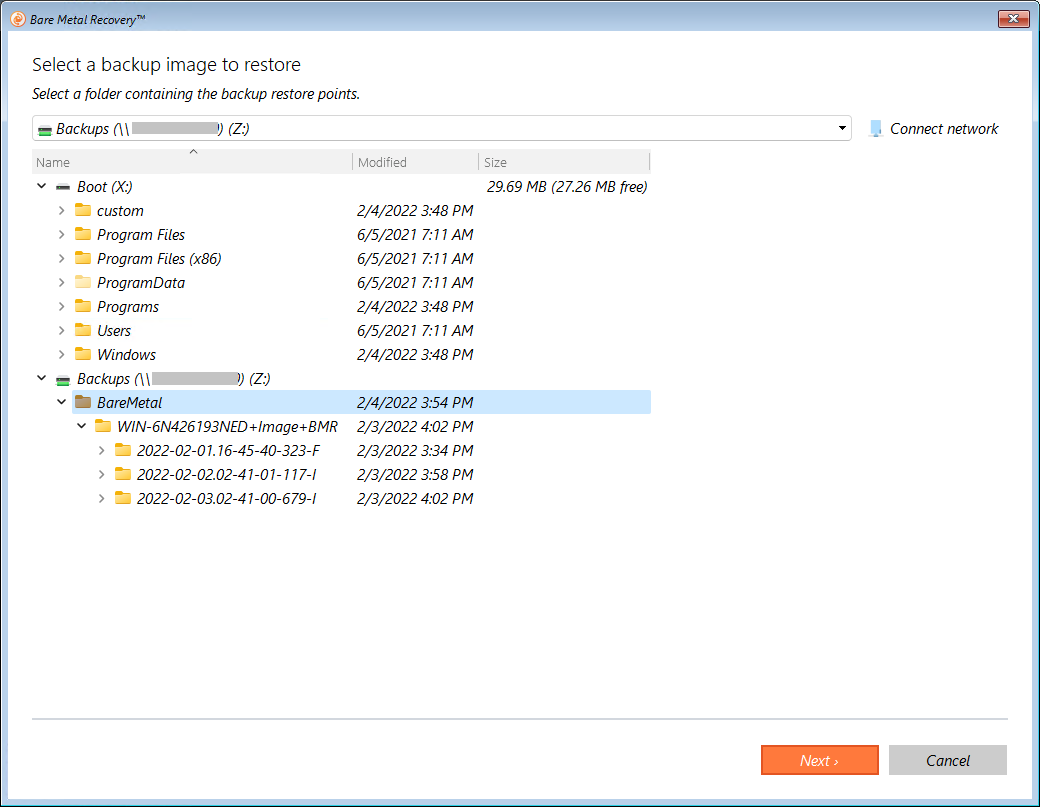
Once connected, select the Bare Metal backup to restore and click Next.
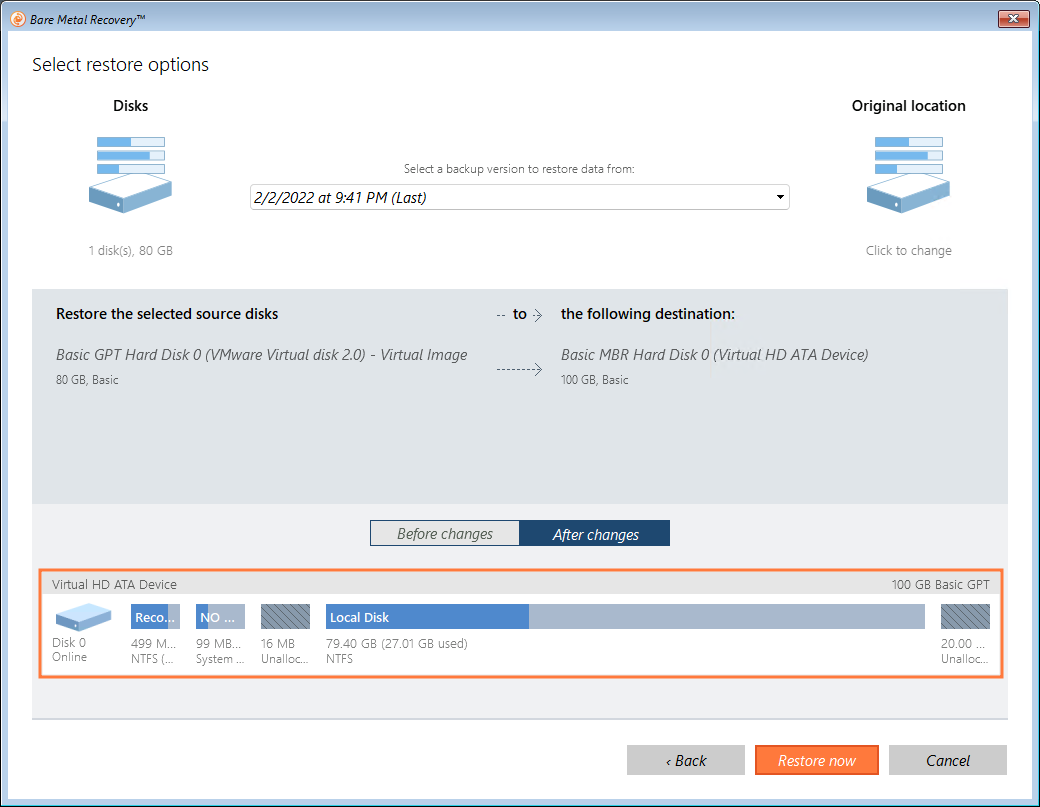
Select a backup version to restore data from. Confirm your restore options and click Restore now.
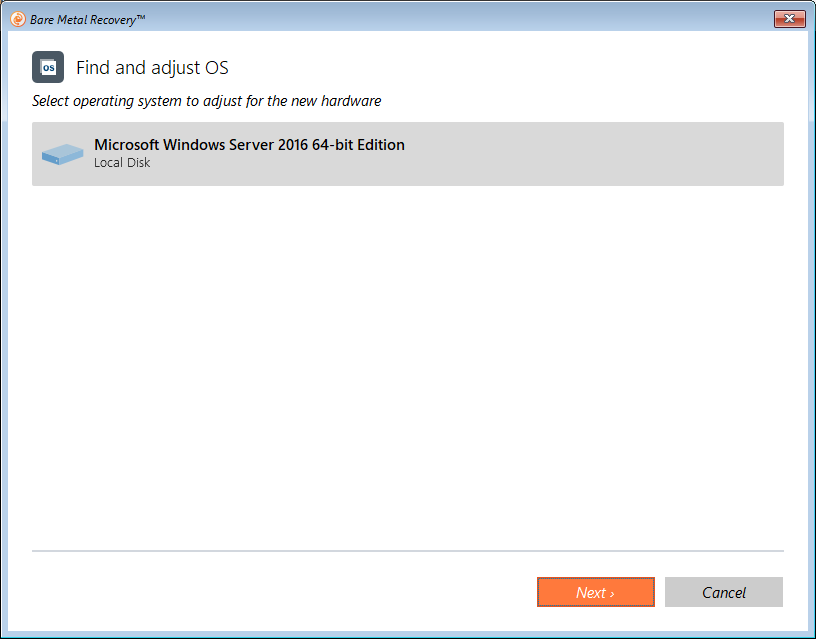
In the next window, you will receive a warning about starting the restore. Select Check, then restore. After Carbonite confirms the backup integrity, find and adjust the operating system for the new hardware and click Next.
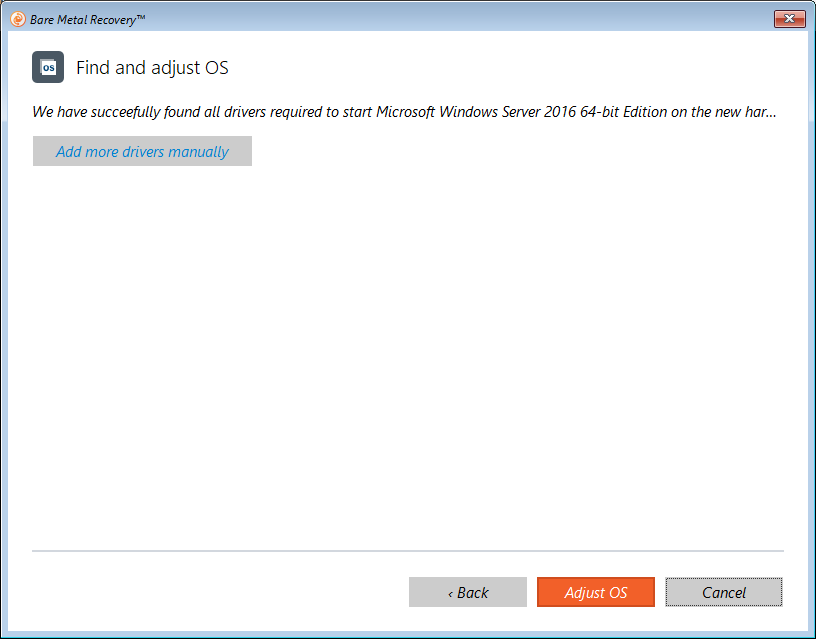
When Carbonite successfully finds all drivers, click Adjust OS.
During this process, a few progress windows will appear. Once it completes, click Close.
After a Bare Metal Recovery
After performing a Bare Metal Image restore, Microsoft SQL Server, Exchange Server and SharePoint databases are not automatically restored to your machine. To recover these databases, you will be required to perform additional steps. The steps you need to perform vary based on the version of CSSB used to take the original backups.
Select the database(s) you wish to recover from the list below:
- Restoring a Microsoft SQL Server
- Restoring a Microsoft Exchange Server Database
- Restoring Microsoft SharePoint
Each of these backup types has requirements that must be met at restore time. The first requirement for each is that the appropriate application must be installed and running. Following a Bare Metal Recovery, your Microsoft SQL Server services will be installed (including the one for SharePoint) but cannot be started. The system databases must be present to start the SQL Server services, but they are not included in the Bare Metal Image. Before you can restore your Microsoft SQL Server and SharePoint backup sets, you must rebuild your system databases.
For Microsoft SQL Server
If your backups were taken with CSSB 5.2 or later, simply place a checkmark next to the Rebuild System Databases option on the Restore page and perform your restore. No further action is necessary. Please refer to this Knowledge Base article for more details.
If your backups were taken with CSSB 5.1 or earlier, you must manually rebuild the system databases. Please follow these steps:
- Follow the steps outlined in this Microsoft Knowledge Base article to rebuild your system databases.
- Once the databases are rebuilt, start your SQL Server services.
- In CSSB, visit the Restore page for your Microsoft SQL Server backup set and begin a restore to the Original Location.
- All standard requirements apply.
For Microsoft SharePoint
If your backups were taken with CSSB 5.2 or later, simply place a checkmark next to the Rebuild System Databases option on the Restore page and perform your restore. No further action is necessary. Please refer to this Knowledge Base article for more details.
If your backups were taken with CSSB 5.1 or earlier, you must manually rebuild the system databases. Please follow these steps:
- Follow the steps outlined in this Microsoft Knowledge Base article to rebuild your Microsoft SQL Server system databases.
- Once the databases are rebuilt, open Services.msc and start the SQL Server service related to your SharePoint instance.
- In CSSB, visit your SQL Server backup set and open the Restore page.
- Restore the system databases (master, model, and msdb) to the Original location.
- All standard requirements apply.
- Once complete, visit the Restore page for your Microsoft SharePoint backup set, and begin a restore of all databases.
- Select the Restore to alternate location option.
- All standard requirements apply.
- Once the restore is complete, copy the restored SharePoint Config databases and any other SQL databases to their original location.
- You can see the original location of the files in the Restore Select window.
- Restart the SQL Server service for your SharePoint instance after the files have been copied.
- Restart all SharePoint services after the SQL Server service has been started.
- Then begin a second restore of the SharePoint backup set.
- This time, please restore all databases to the Original Location.
- All standard requirements apply.
For Microsoft Exchange
There are no special steps required before you can restore Exchange databases. After the Bare Metal Recovery is complete, simply restore Exchange to the Original location. All standard requirements apply.
File/Folder Level Restore
You can restore individual files and folders from a Bare Metal Image backup. You may only run one Files/Folders restore at a time.
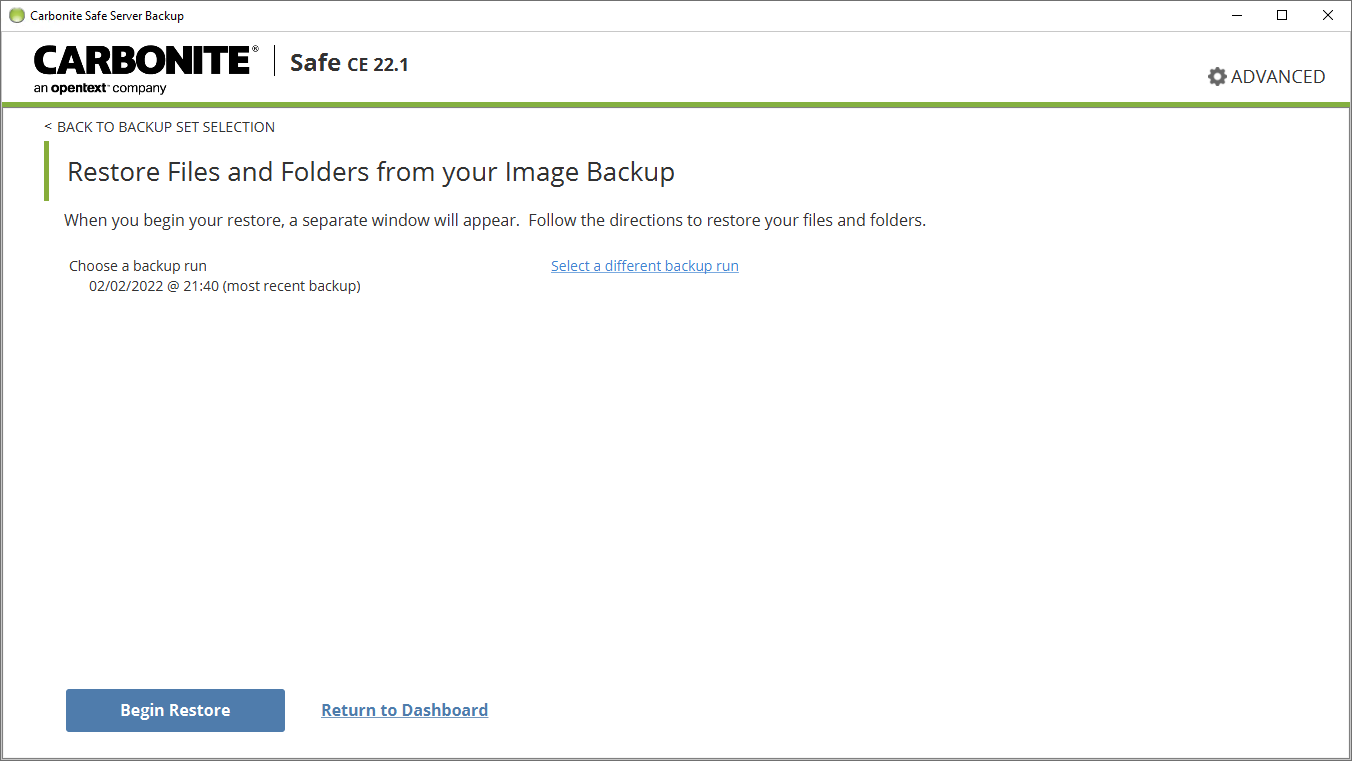
Select the Restore files and folders from your image backup option on the Restore page, and click the Continue.
Note: There is an option to export files and folders from the recovery environment, but it is recommended to use the recovery environment only for Full Bare Metal Restore and use the CSSB UI when doing file level restore.
Click image to enlarge
After selecting continue, you will be presented with a loading screen for the file level restore wizard.
Within the View Backup Contents window, you will see a dropdown of dates listed. These dates correspond to days that backups have been performed for the Bare Metal Image. Once the desired date has been selecting, you can browse the backup and select files/folders to be restored. Once all selections are made, click Next to proceed.

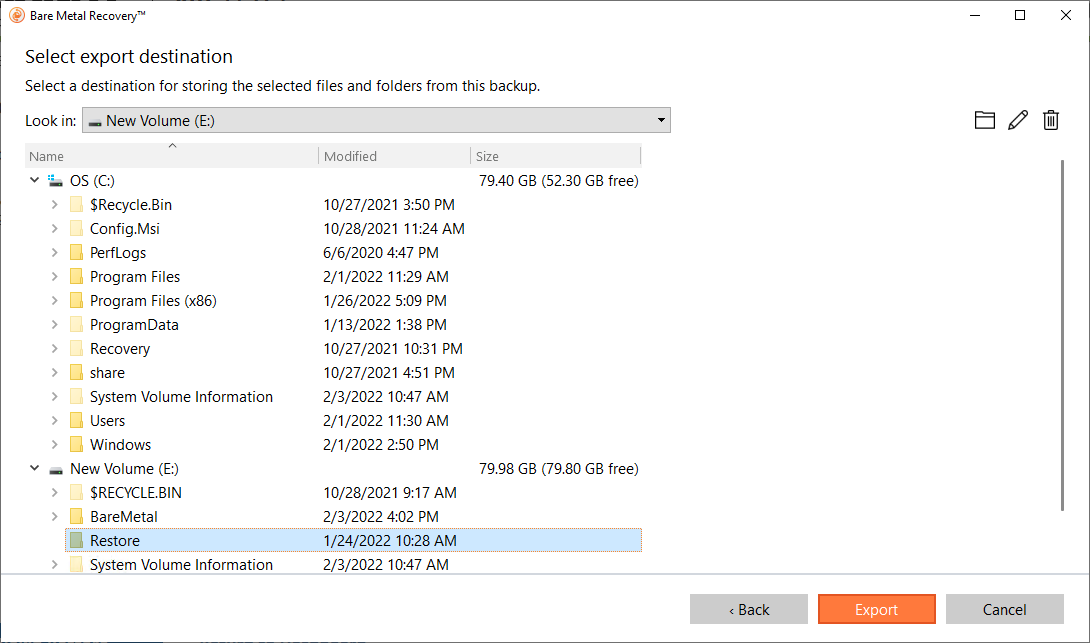
Within the Select export destination screen, you will be able to choose the location where the restored files will be stored. You can navigate into the folders by clicking the triangle icon next to the folder. Once the location has been selected, click Export to start the restore
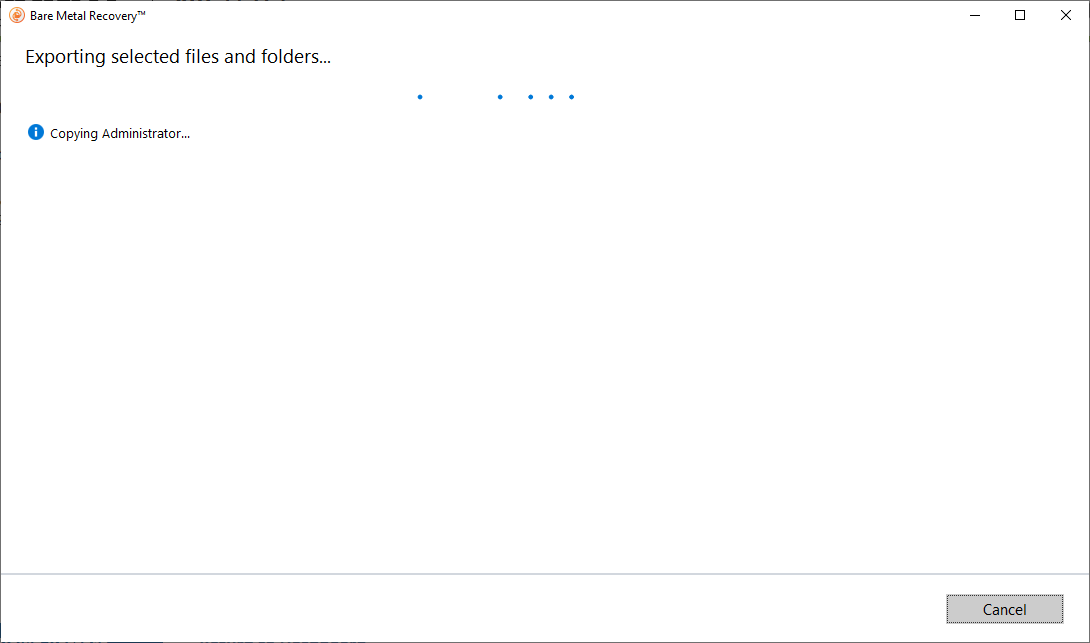
The File Restore Wizard will begin restoring the selected files to the location that was specified.
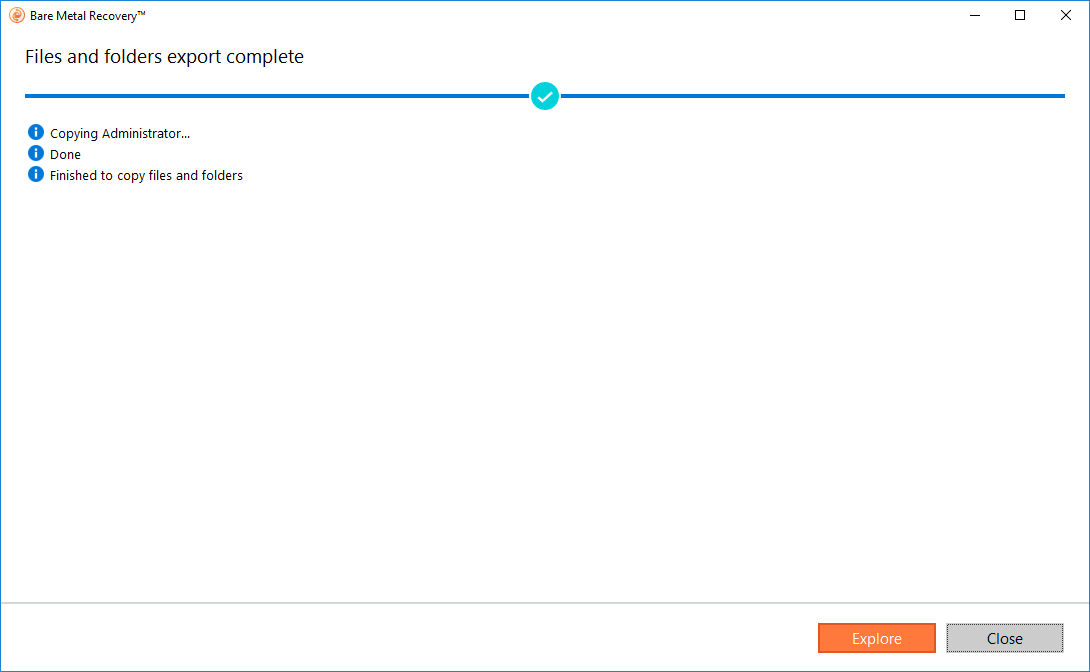
Once the restore is complete, the File Level Restore window will indicate that all files were successfully restored. Click Explore to view the restored files. Click Close to exit the wizard without opening to restore destination.
You will now be able to move the file that you restored back to its original location or a new location and use it again.
Windows Activation Following a Complete Bare Metal Restore
Windows licenses are often tied to a specific hardware GUID. Performing a complete Bare Metal Restore to different hardware may cause Windows throw errors that it is not activated or is not genuine. This behavior is expected, because the new system has a different hardware GUID than the original.
Self-help options exist for Windows Activation. Please see this Microsoft Knowledge Base article. You may also call Microsoft Support for assistance. Please visit this Microsoft page to find the phone number for your country.
Carbonite Support cannot assist with Windows activation.
Troubleshooting Unable to Find OS or Unbootable OS Post Restore
Once the BMI restore is complete, you may see one of the following errors:
- Unable to boot
- Unable to find Operating System
Please check the BIOS settings for Legacy/CSM or Secure Boot/UEFI. Try reversing the settings, save and exit the BIOS and see if the system now boots correctly.
BIOS terminology will differ between all the various manufacturers. A few examples to look for are Legacy/CSM and Secure Boot/UEFI. These will be in main sections called Boot, Boot Priority, or Boot Mode.
Older computer systems are typically configured for Legacy/CSM while new systems are starting to default to using Secure Boot/UEFI. Bare Metal Restore cannot change the BIOS settings during a restore.
If there is still a problem, please check the "Correct Boot" option in the Recovery Media and attempt to fix the issue by going through the appropriate operations.
 Feedback