

How to start new cloud backups with Carbonite Safe Server Backup

Summary:
This article explains how to start new cloud backups with Carbonite Safe Server Backup.
Solution:
Step 1: Sign In and Download a New Cloud Certificate
Sign in to your account at https://account.carbonite.com.
Click the Install Carbonite button in the Backup Dashboard.

An installation page will appear. You must select the version of Windows running on the server in order to get the correct installer and Cloud Certificate.
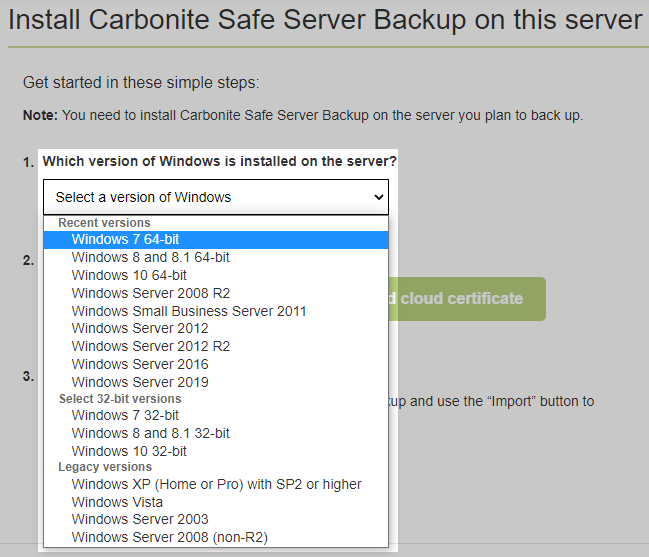
Download both the installer and cloud certificate.

The certificate file is called cloud.opentext OR cloud.carbonite. The correct certificate will be downloaded based on your operating system. Attempts to import the wrong certificate will fail.
Step 2: Import the Cloud Certificate into CSSB
Note: If you have more than one server, you must do this on each server.
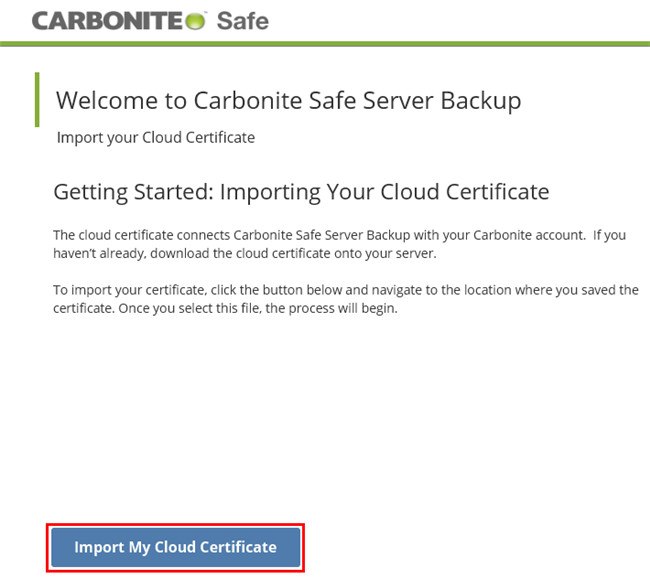
After downloading the cloud certificate, right-click the Carbonite Safe Server Backup shortcut on your Desktop and choose Run as administrator. If the Enhanced Interface displays an option for Import My Cloud Certificate, click it and follow the on-screen instructions. If no such import option exists on your screen, skip to next step.
Within the CSSB Enhanced Interface, click the Advanced link in the upper right hand corner.
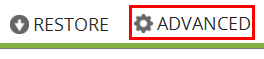
Within the Tools section, click Import Cloud Certificate.

A Cloud Certificate Import window will appear, allowing you to browse to the location of your cloud certificate. Click the Browse button to select and upload your downloaded certificate.
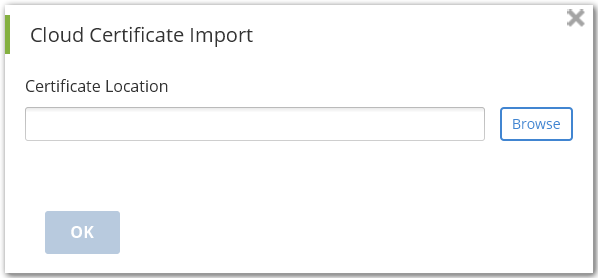
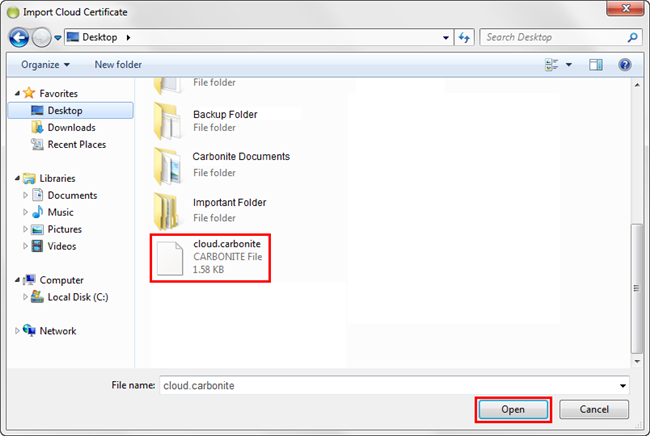
An Import Cloud Certificate window will appear. After selecting your cloud certificate, click Open to proceed.
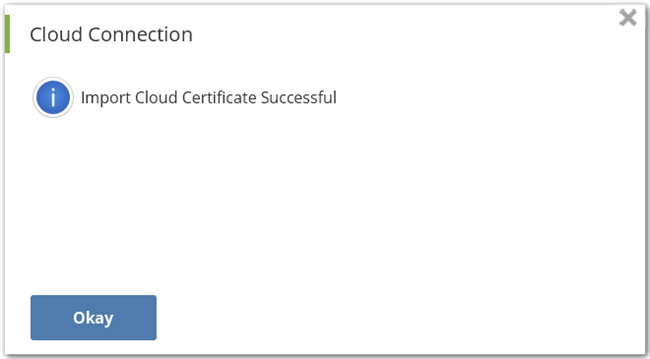
Once your cloud certificate has been successfully uploaded, you will receive a notification message. Click OK to close the window.
Step 3: Start a Full Backup for Each Backup Set
Note: If you have more than one backup set, you must do this for each backup set on each server.
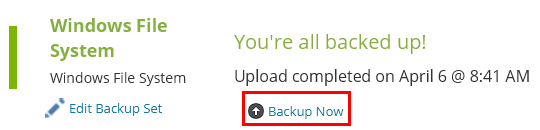
Navigate to the Backup Details page in the Carbonite Safe Server Backup software and from the backup set, click the Backup Now button.
A Backup Now window will appear. Choose Full Backup.
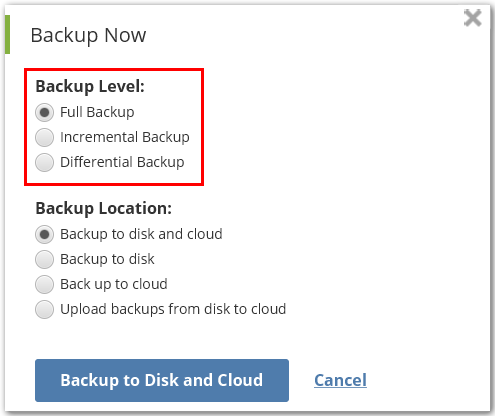
You can also choose whether you would like to store the backups to disk, to the cloud, or to both disk and cloud.
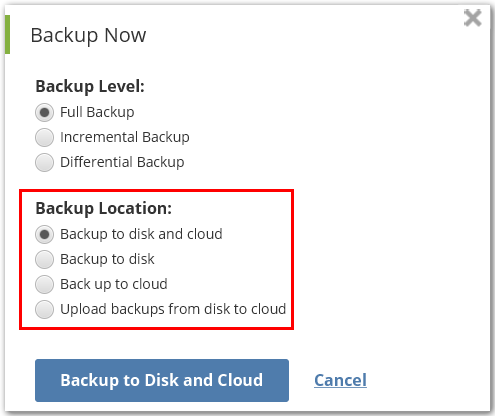
After making your selection, click the Backup button to start your new backup.
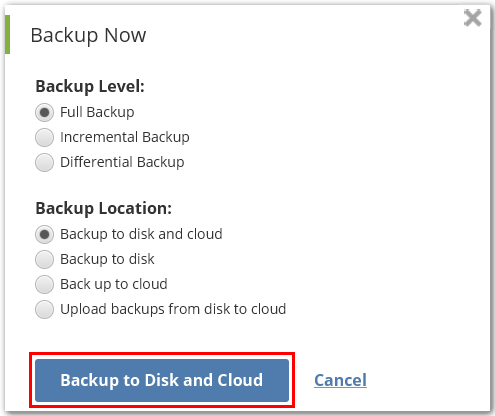
Note: In this example, a full backup is being performed to both disk and cloud.
Recommended: Set up Email Notifications to Proactively Monitor Your CSSB Backups
CSSB provides notification of backup and recovery events in two different methods:
- All events (successful and failure) are logged in the Windows event logs. Windows event log analyzer tools can be used to filter the events and analyze them.
- Email notifications can be sent when a particular event occurs, such as the success or failure of a backup, upload, download, or restore operation.
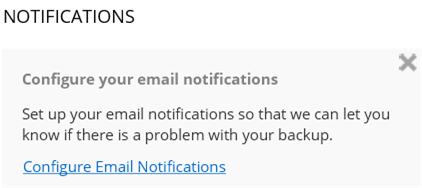
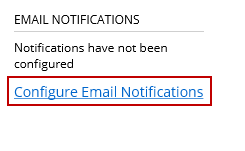
To enable email notifications, you need to configure the mail server first. In the Notifications section of the CSSB Enhanced Interface, click Configure Email Notifications.
- If you have other active notifications, scroll down until Configure Email Notifications appears.
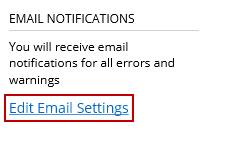
Alternatively, scroll to the bottom of the main CSSB Enhanced Interface and click Edit Email Settings or Configure Email Notifications within the Account Details section.
The Configure Your Email Notifications window will appear, allowing you to configure your SMTP server.
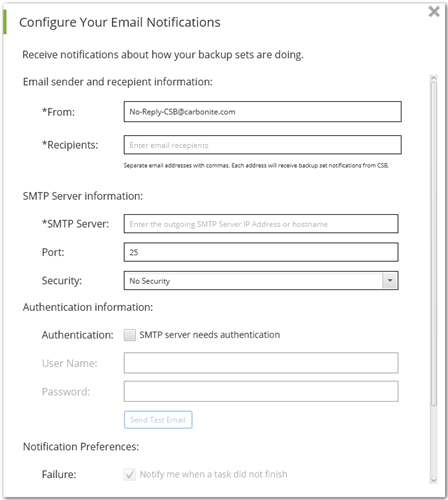
Within this screen, you will also be able to configure your other email settings by providing information for these fields:
- From - Please specify what email address you would like CSSB to put in the From field of the emails. By default, this is No-Reply-CSB@carbonite.com.
- In some cases, your email server may require this to match the username/email address being used for authentication.
- Recipients - Input the email addresses to which you would like notifications to be sent. Separate multiple email addresses with a "," (comma) character.
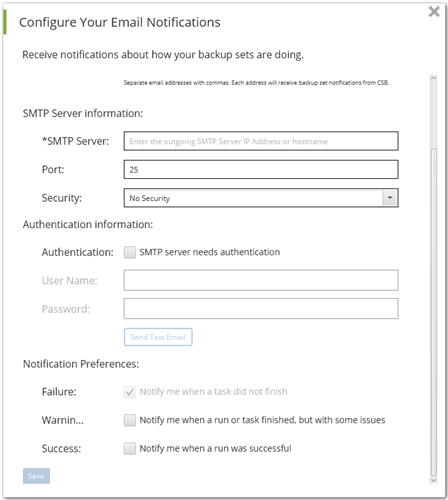
- SMTP Server - This is the IP address or hostname of your outgoing SMTP server.
- Port - This is the SMTP server port which CSSB should connect to for sending emails.
- Security - If you want the communication between CSSB and the SMTP server to be secured rather than clear text, select the appropriate option from the drop-down box. If you are using an Exchange server, please enable the Require TLS encryption option on the Exchange server. To configure Transport Layer Security Encryption for clients, please search Microsoft's Support page https://support.microsoft.com/en-us.
- Authentication - This check box can be unchecked if your SMTP server doesn't need authentication. Otherwise, please keep it enabled.
- Username - This is the email address/username to be used for authentication with the mail server.
- Password - This is the password for the above email account.
- Send Test Email - After entering the correct values above, this can be used to test whether CSSB can connect to the SMTP server.
- Having trouble? Learn more about Troubleshooting Email Notification Setup Issues.
- Notification Preferences - This gives you the option to set alerts for the status of your backup runs and related tasks.
- Failure - By default, this option is checked. It alerts you about backup runs and tasks that were not successful.
- Warning - This option alerts you about backup runs tasks that finished, but had some issues.
- Success - This option alerts you about backup runs tasks that were successful.
Once you complete these steps, click Save. You have successfully configured the mail server.
 Feedback